Welcome to my 100th post! I can’t believe I’ve written 100 of these little vignettes, and created so many wonderful things in the kitchen, but it’s been a pretty great ride over the past year and a half. Thanks for sticking with me.
The month of July is my official Birthday Season. Besides my own birthday, I have a large number of friends with birthdays in July (and late June, come to think of it). For me, this means a lot of celebrating and a lot of cake-making. The last birthday cake I made this past May, Devil’s Food Whiteout Cake, was courtesy of the great Dorie Greenspan. I couldn’t help myself; I went right back to the same book to find a different celebration cake to make for my friend’s birthday dinner last night. Dorie calls this cake “The Perfect Party Cake.” And it is.
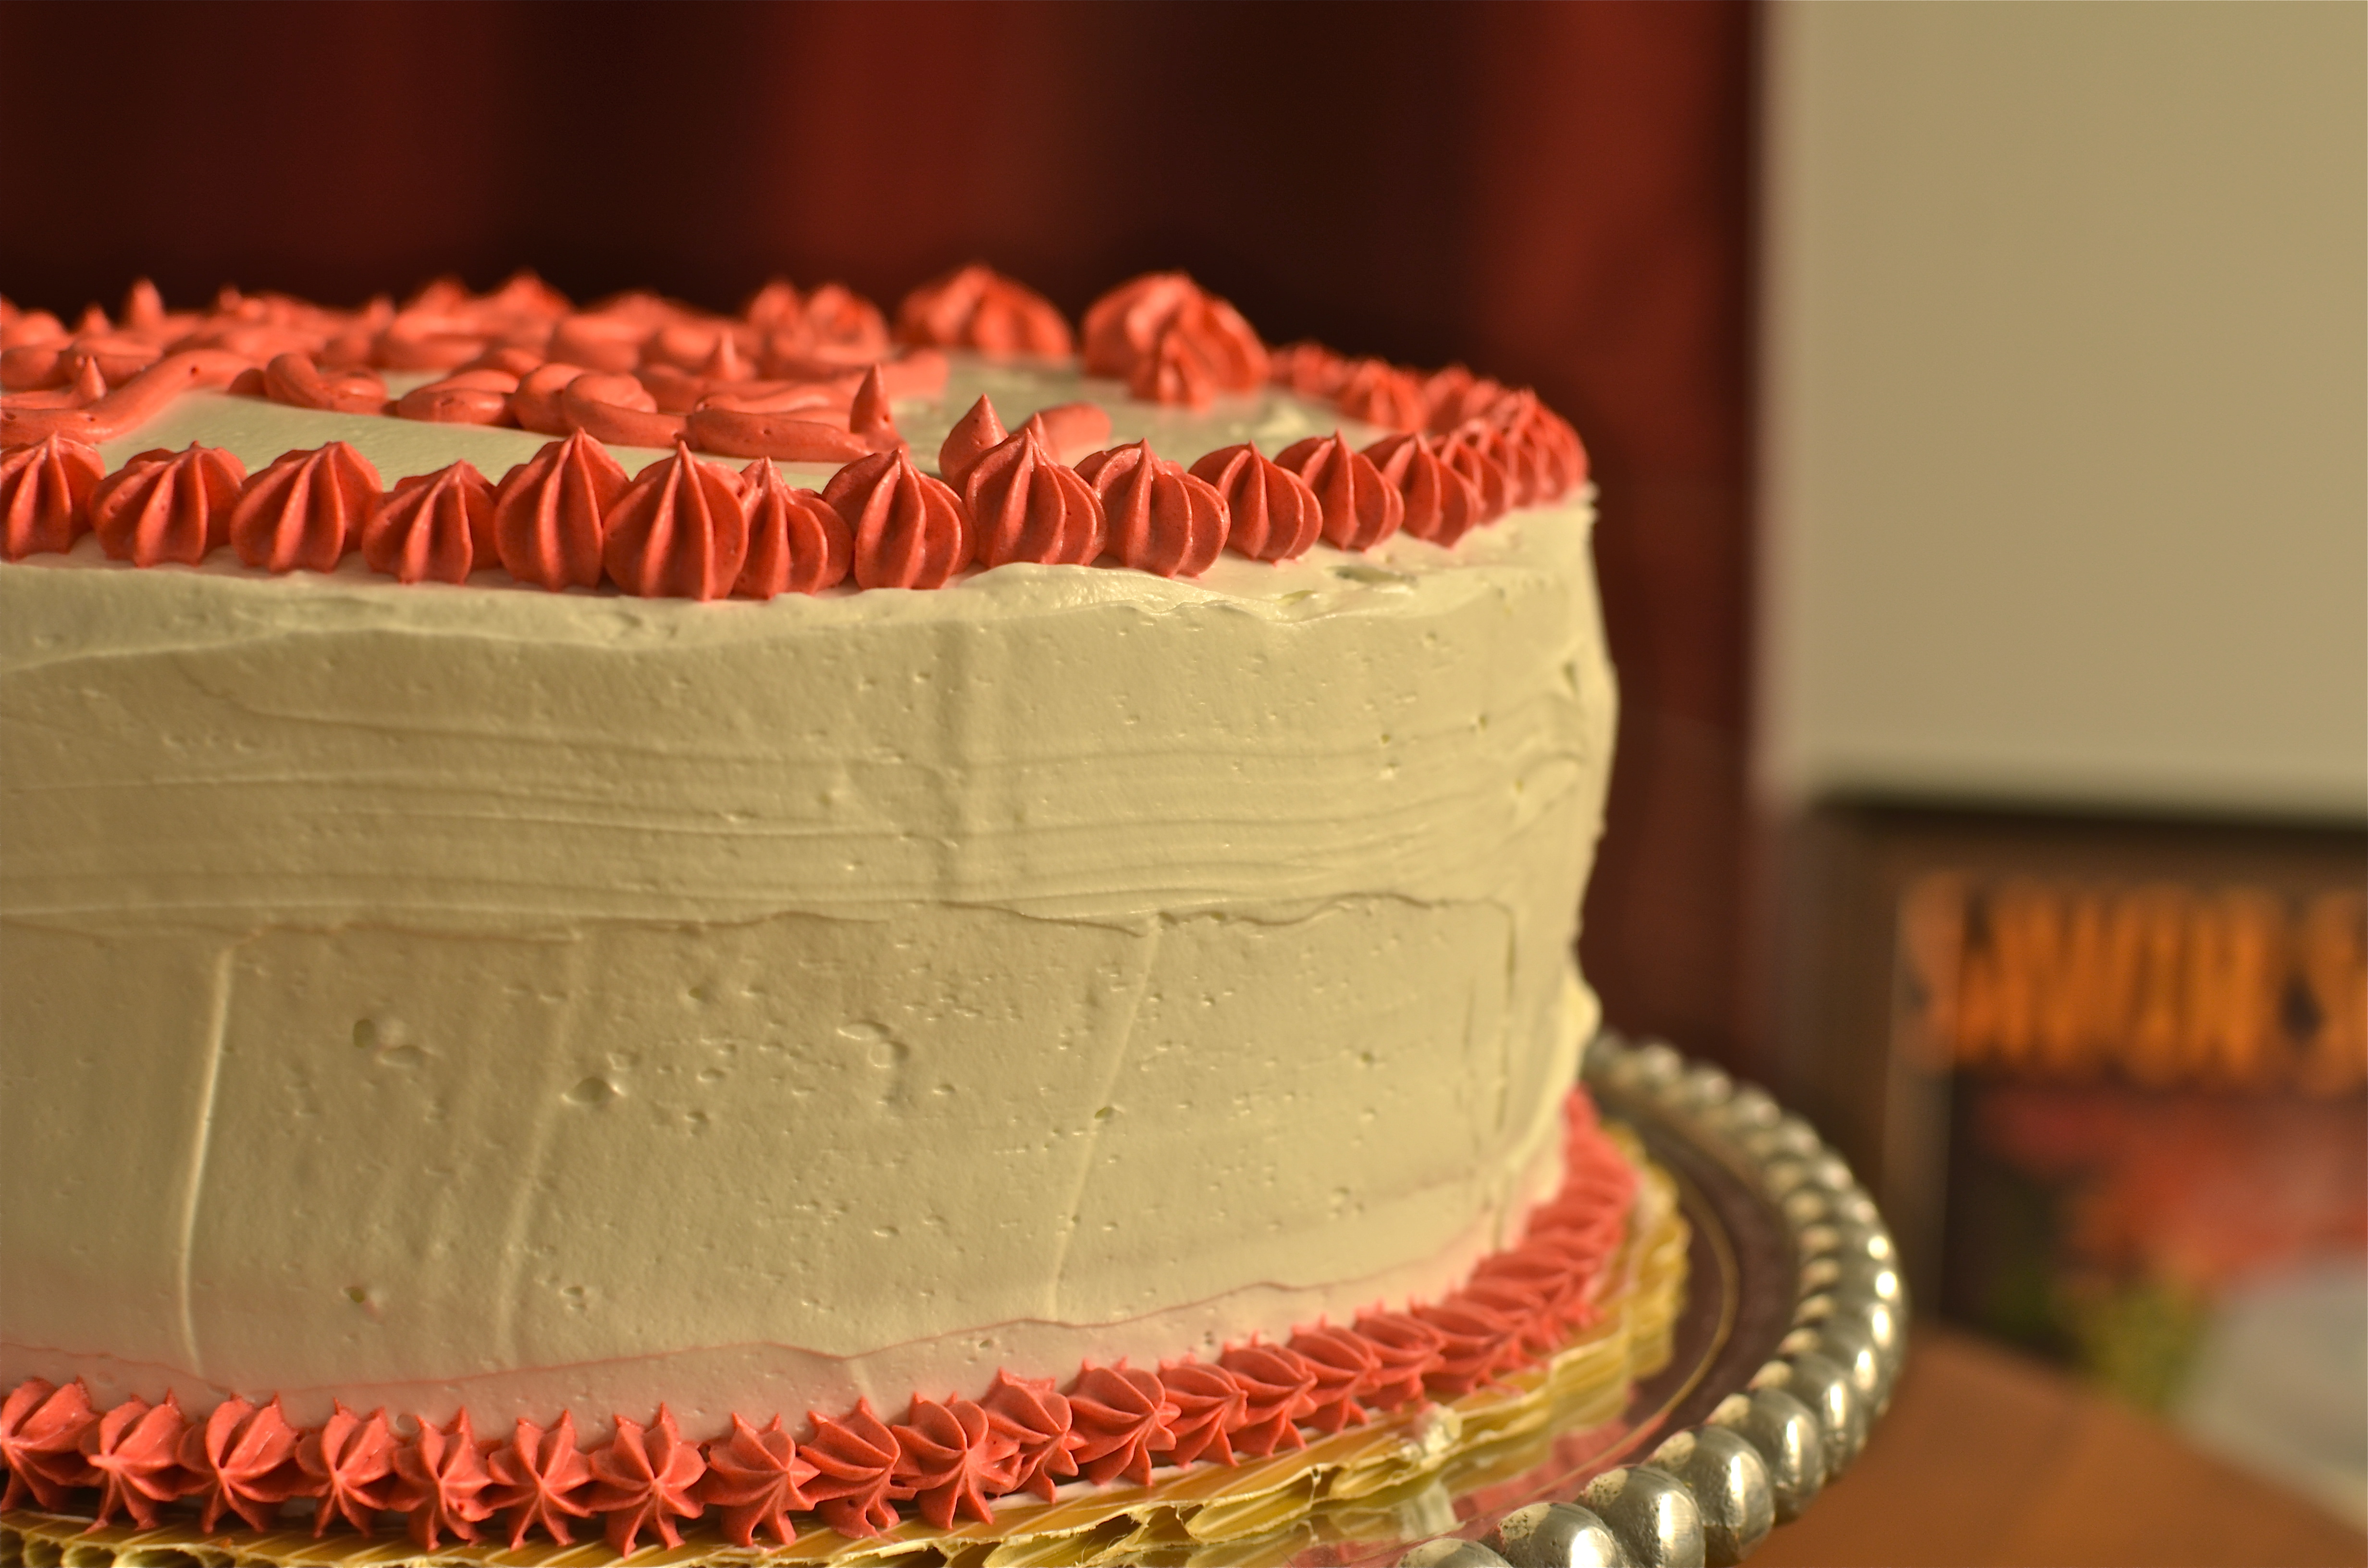
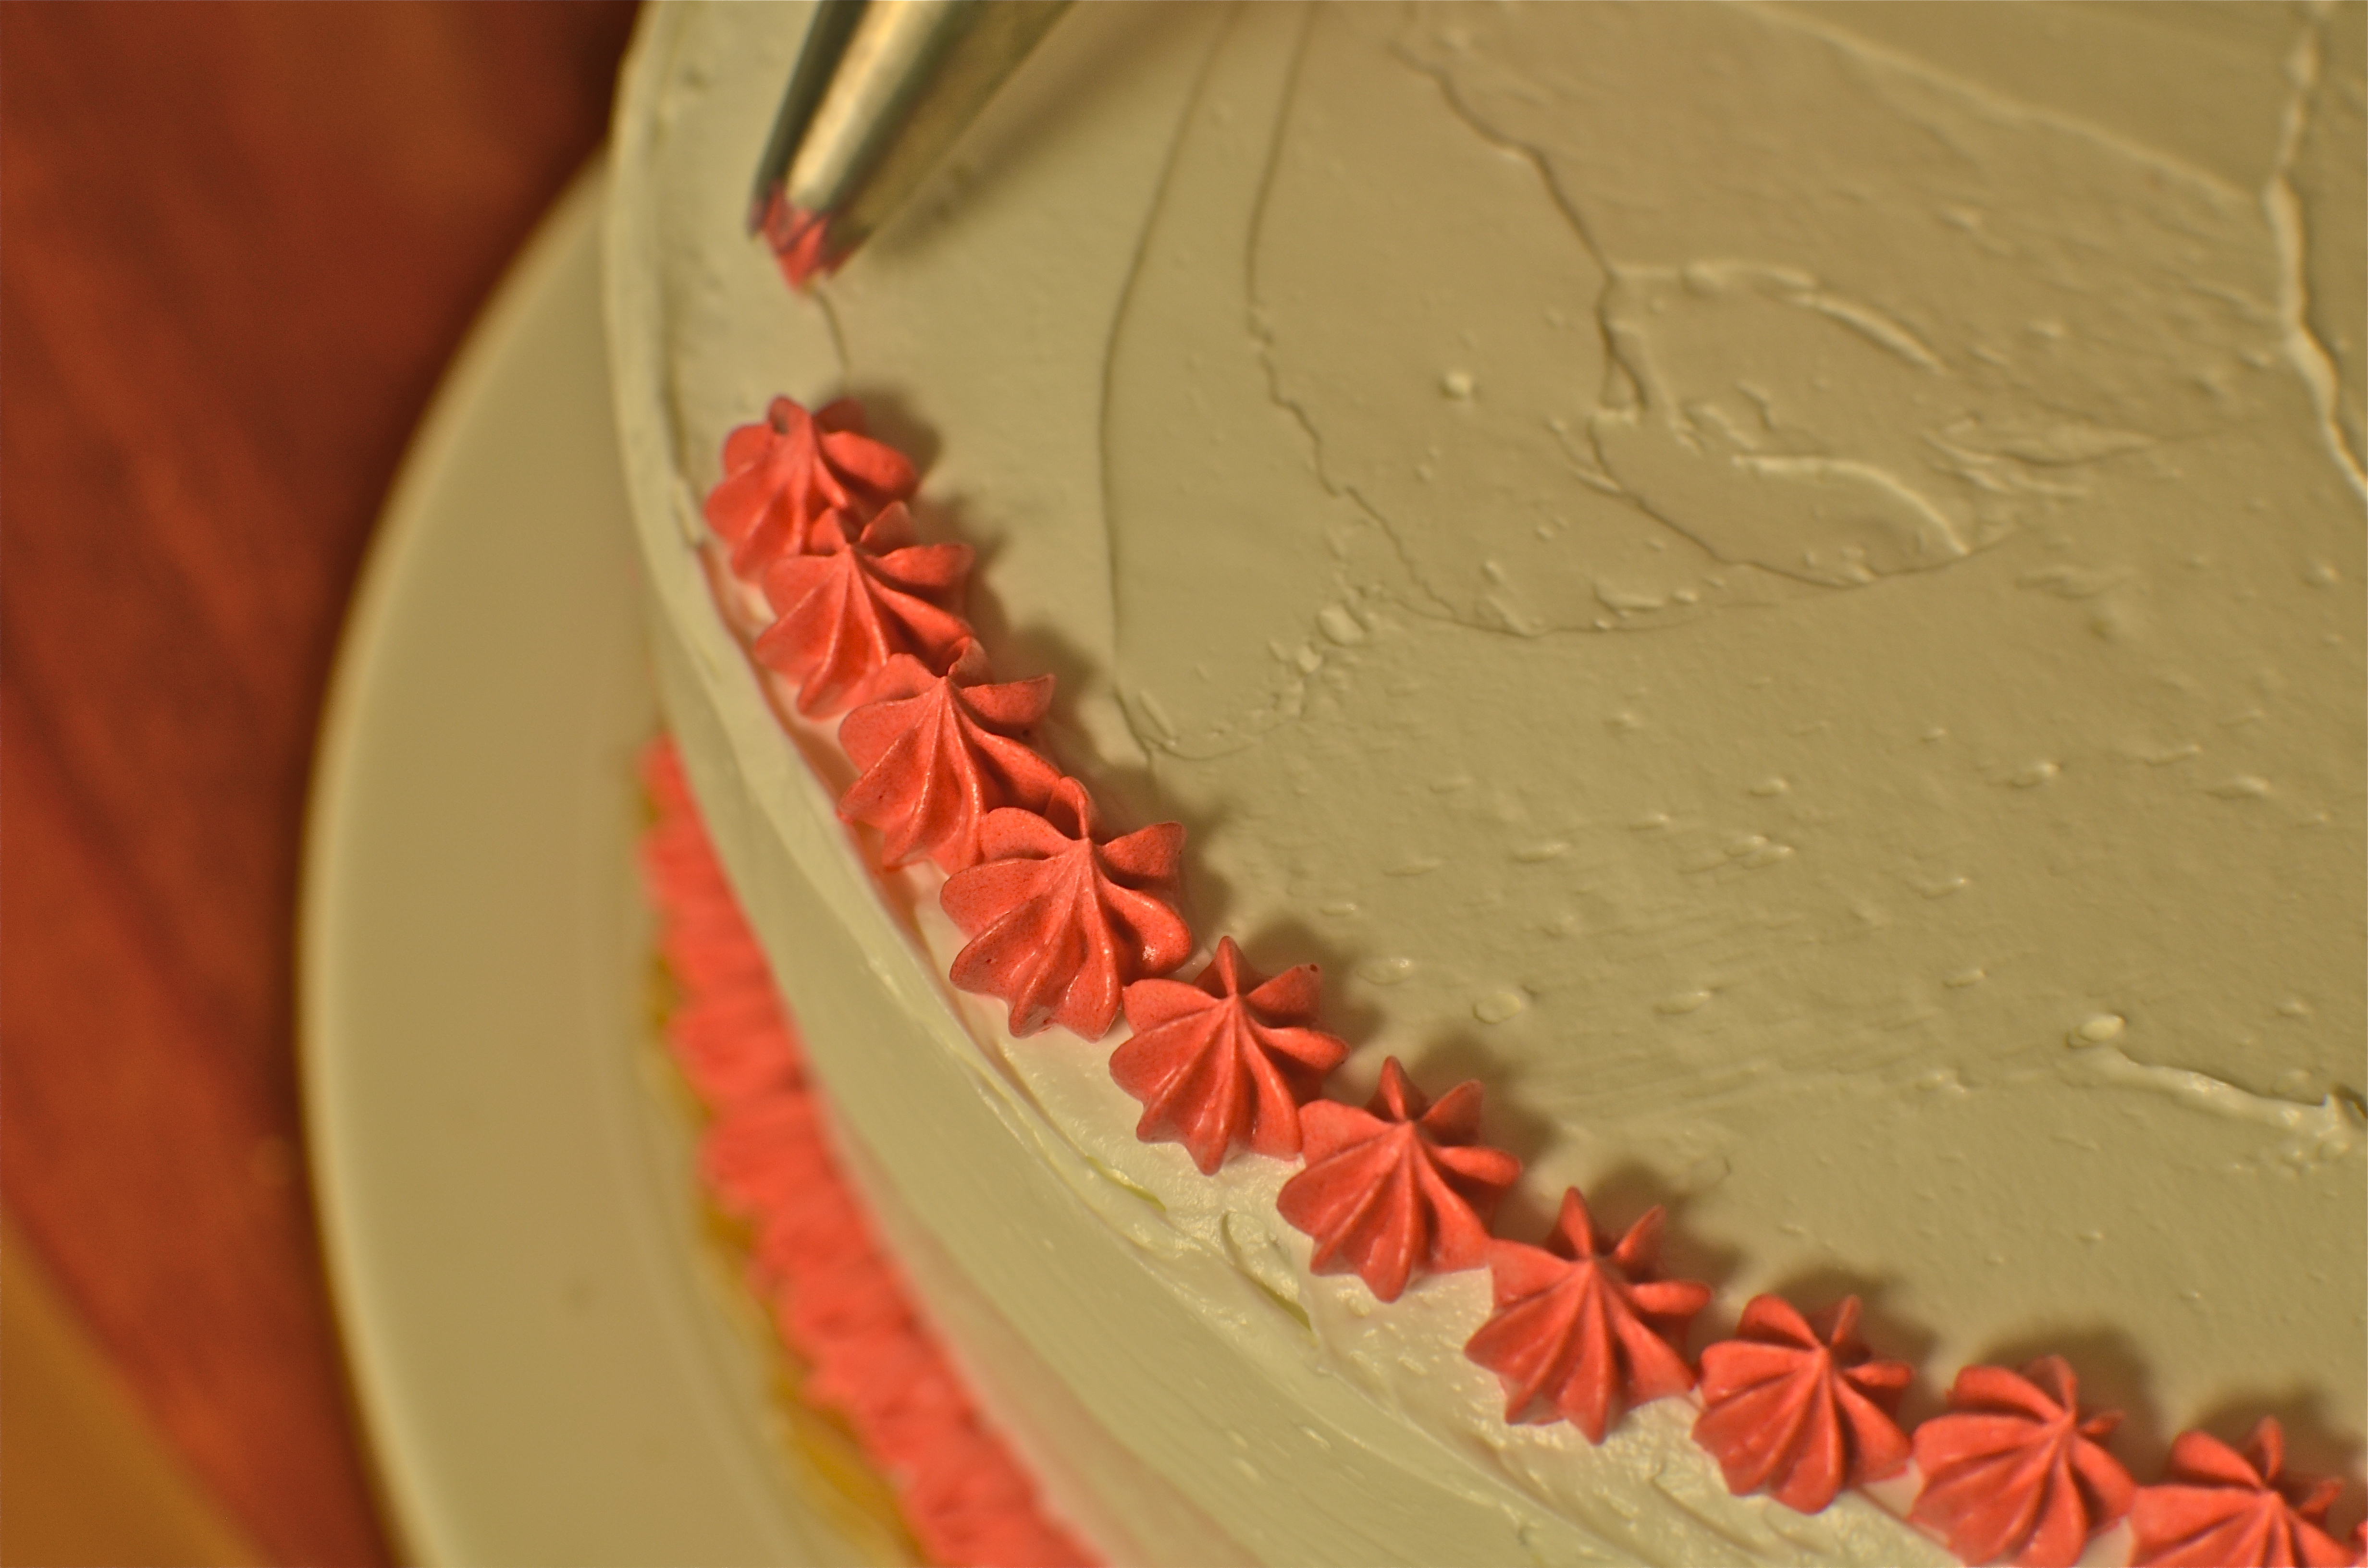
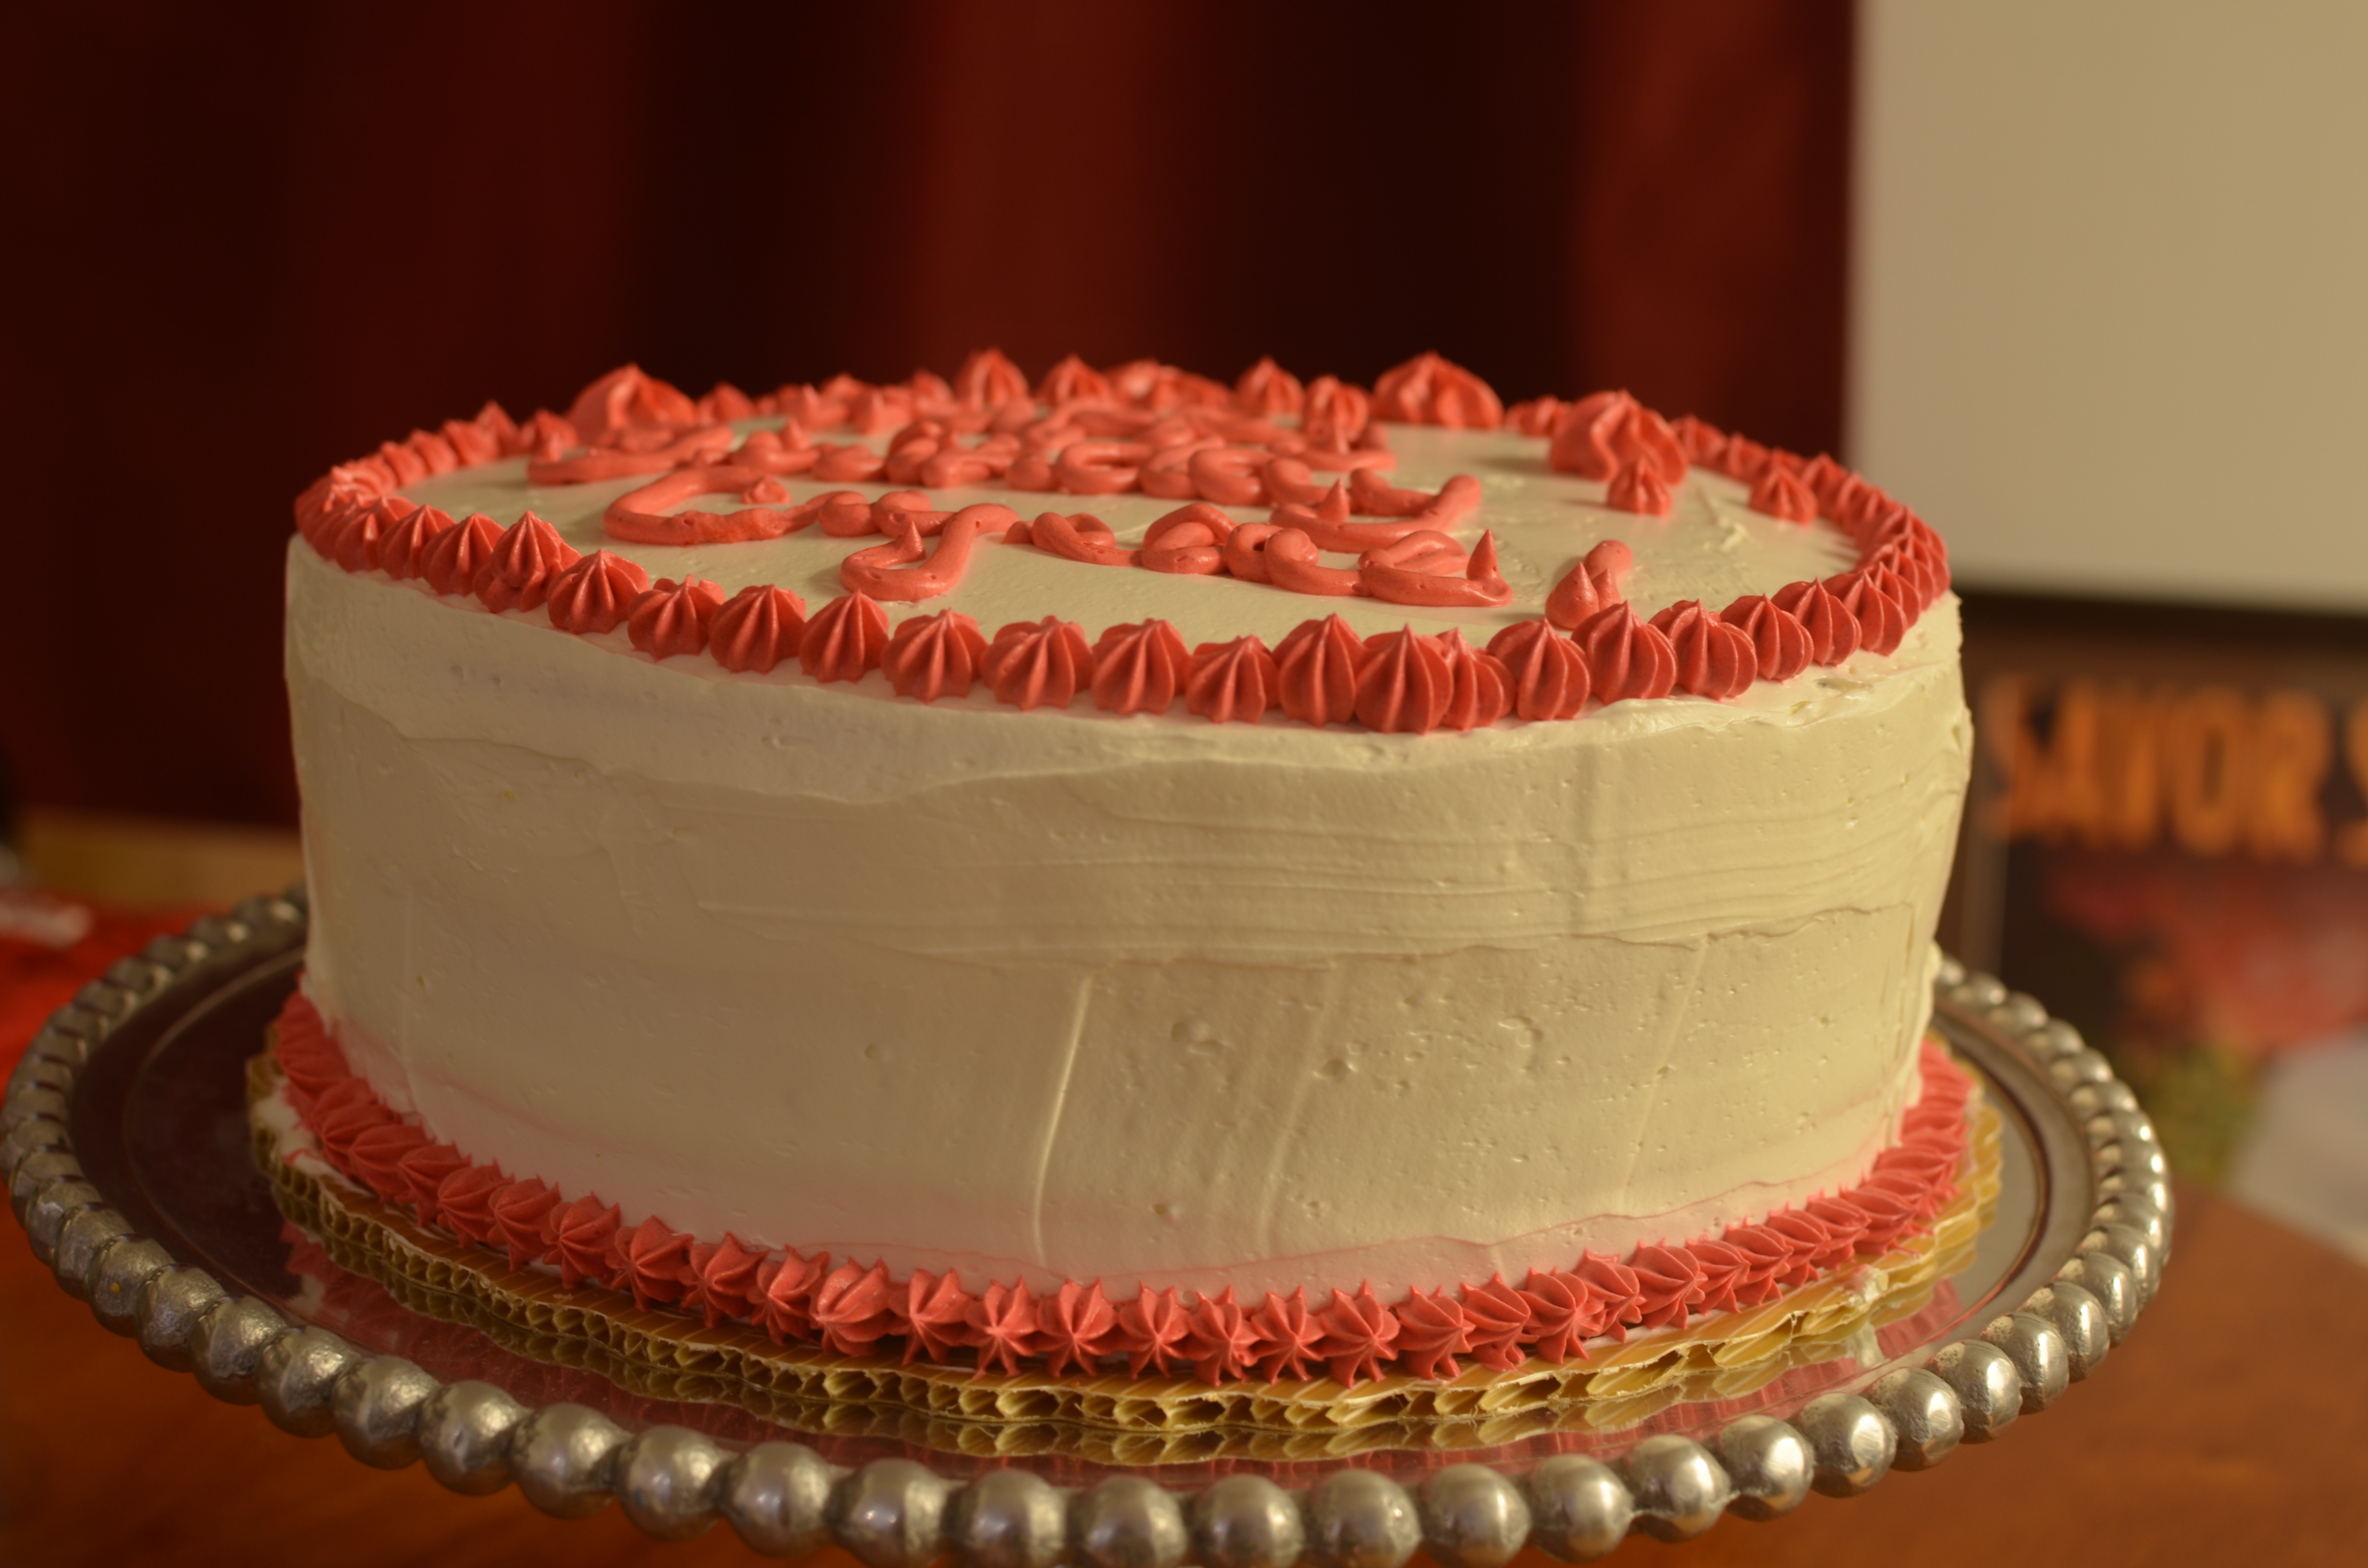
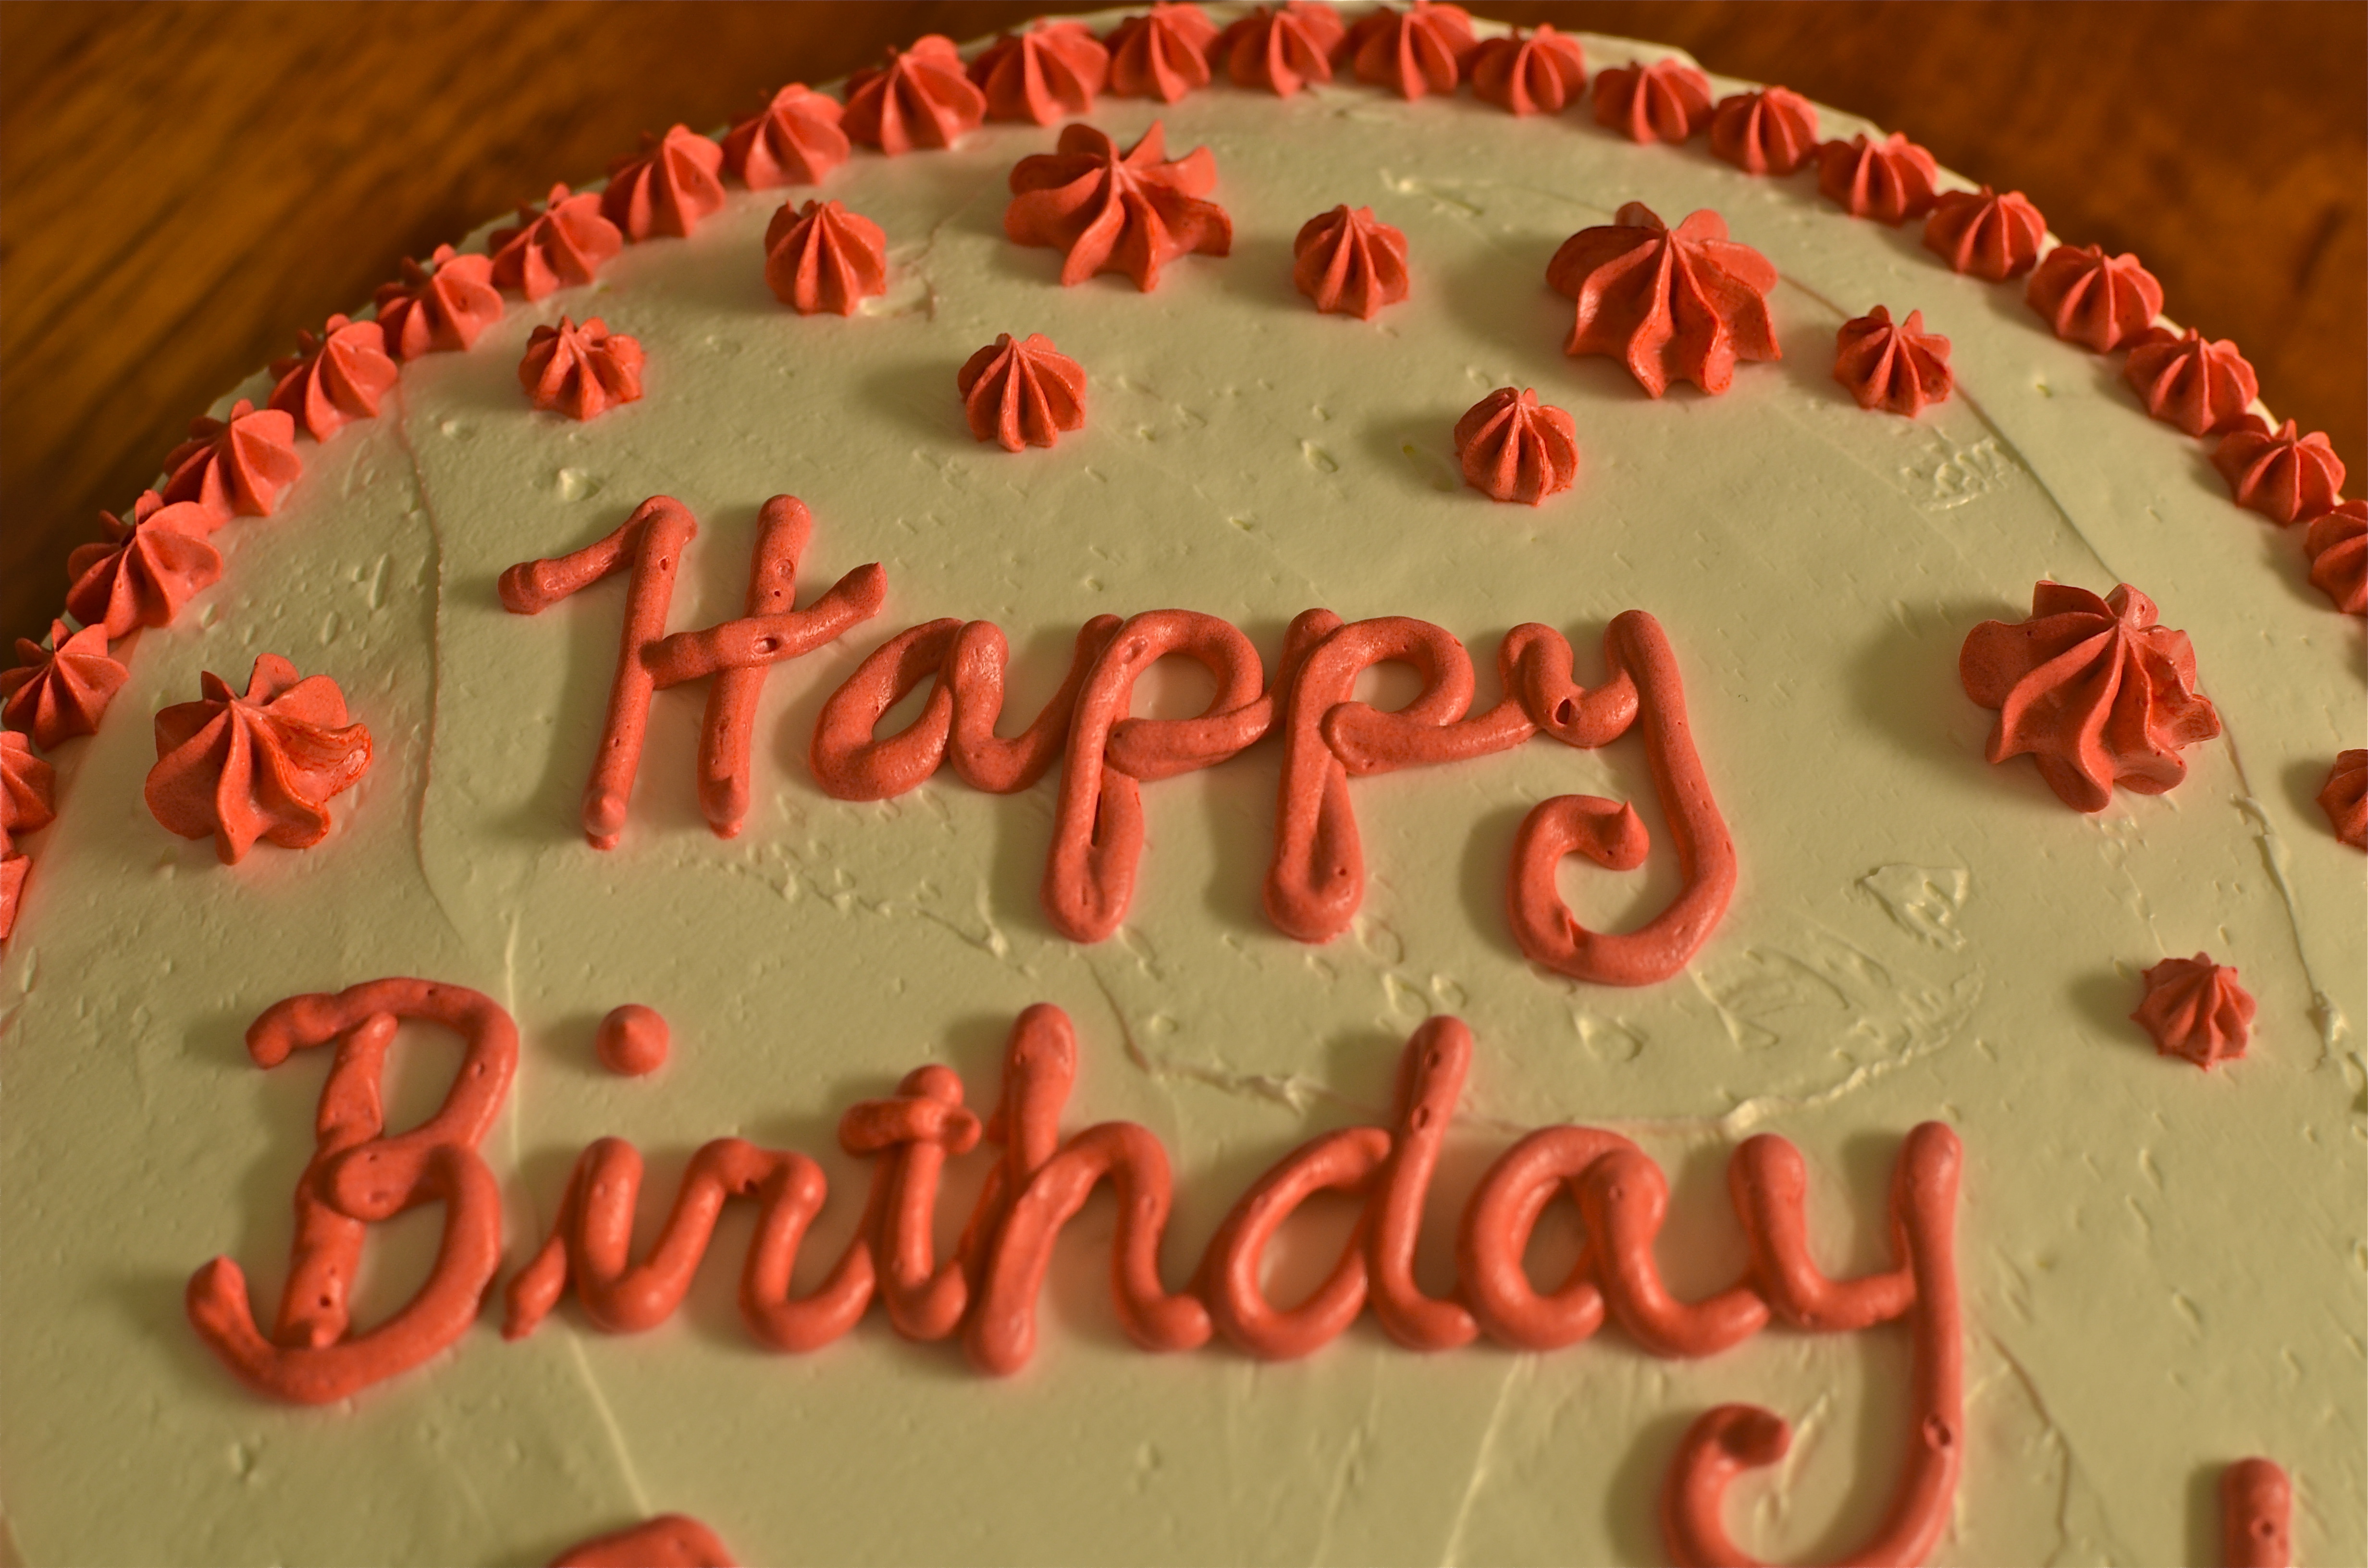
The Perfect Party Cake lives up to its name. It’s exactly the kind of cake you would want to serve at a birthday party. The cake itself is very light, and mildly flavored with a little lemon. Layer it with raspberry preserves, fresh whipped cream (my own addition), and top with a sinfully delicious buttercream, and you’ve got a pretty great birthday cake. I got a little creative at the end by adding red food coloring to some reserved buttercream, and piping out little stars and a happy birthday message. The cake got rave reviews, and I was very happy!
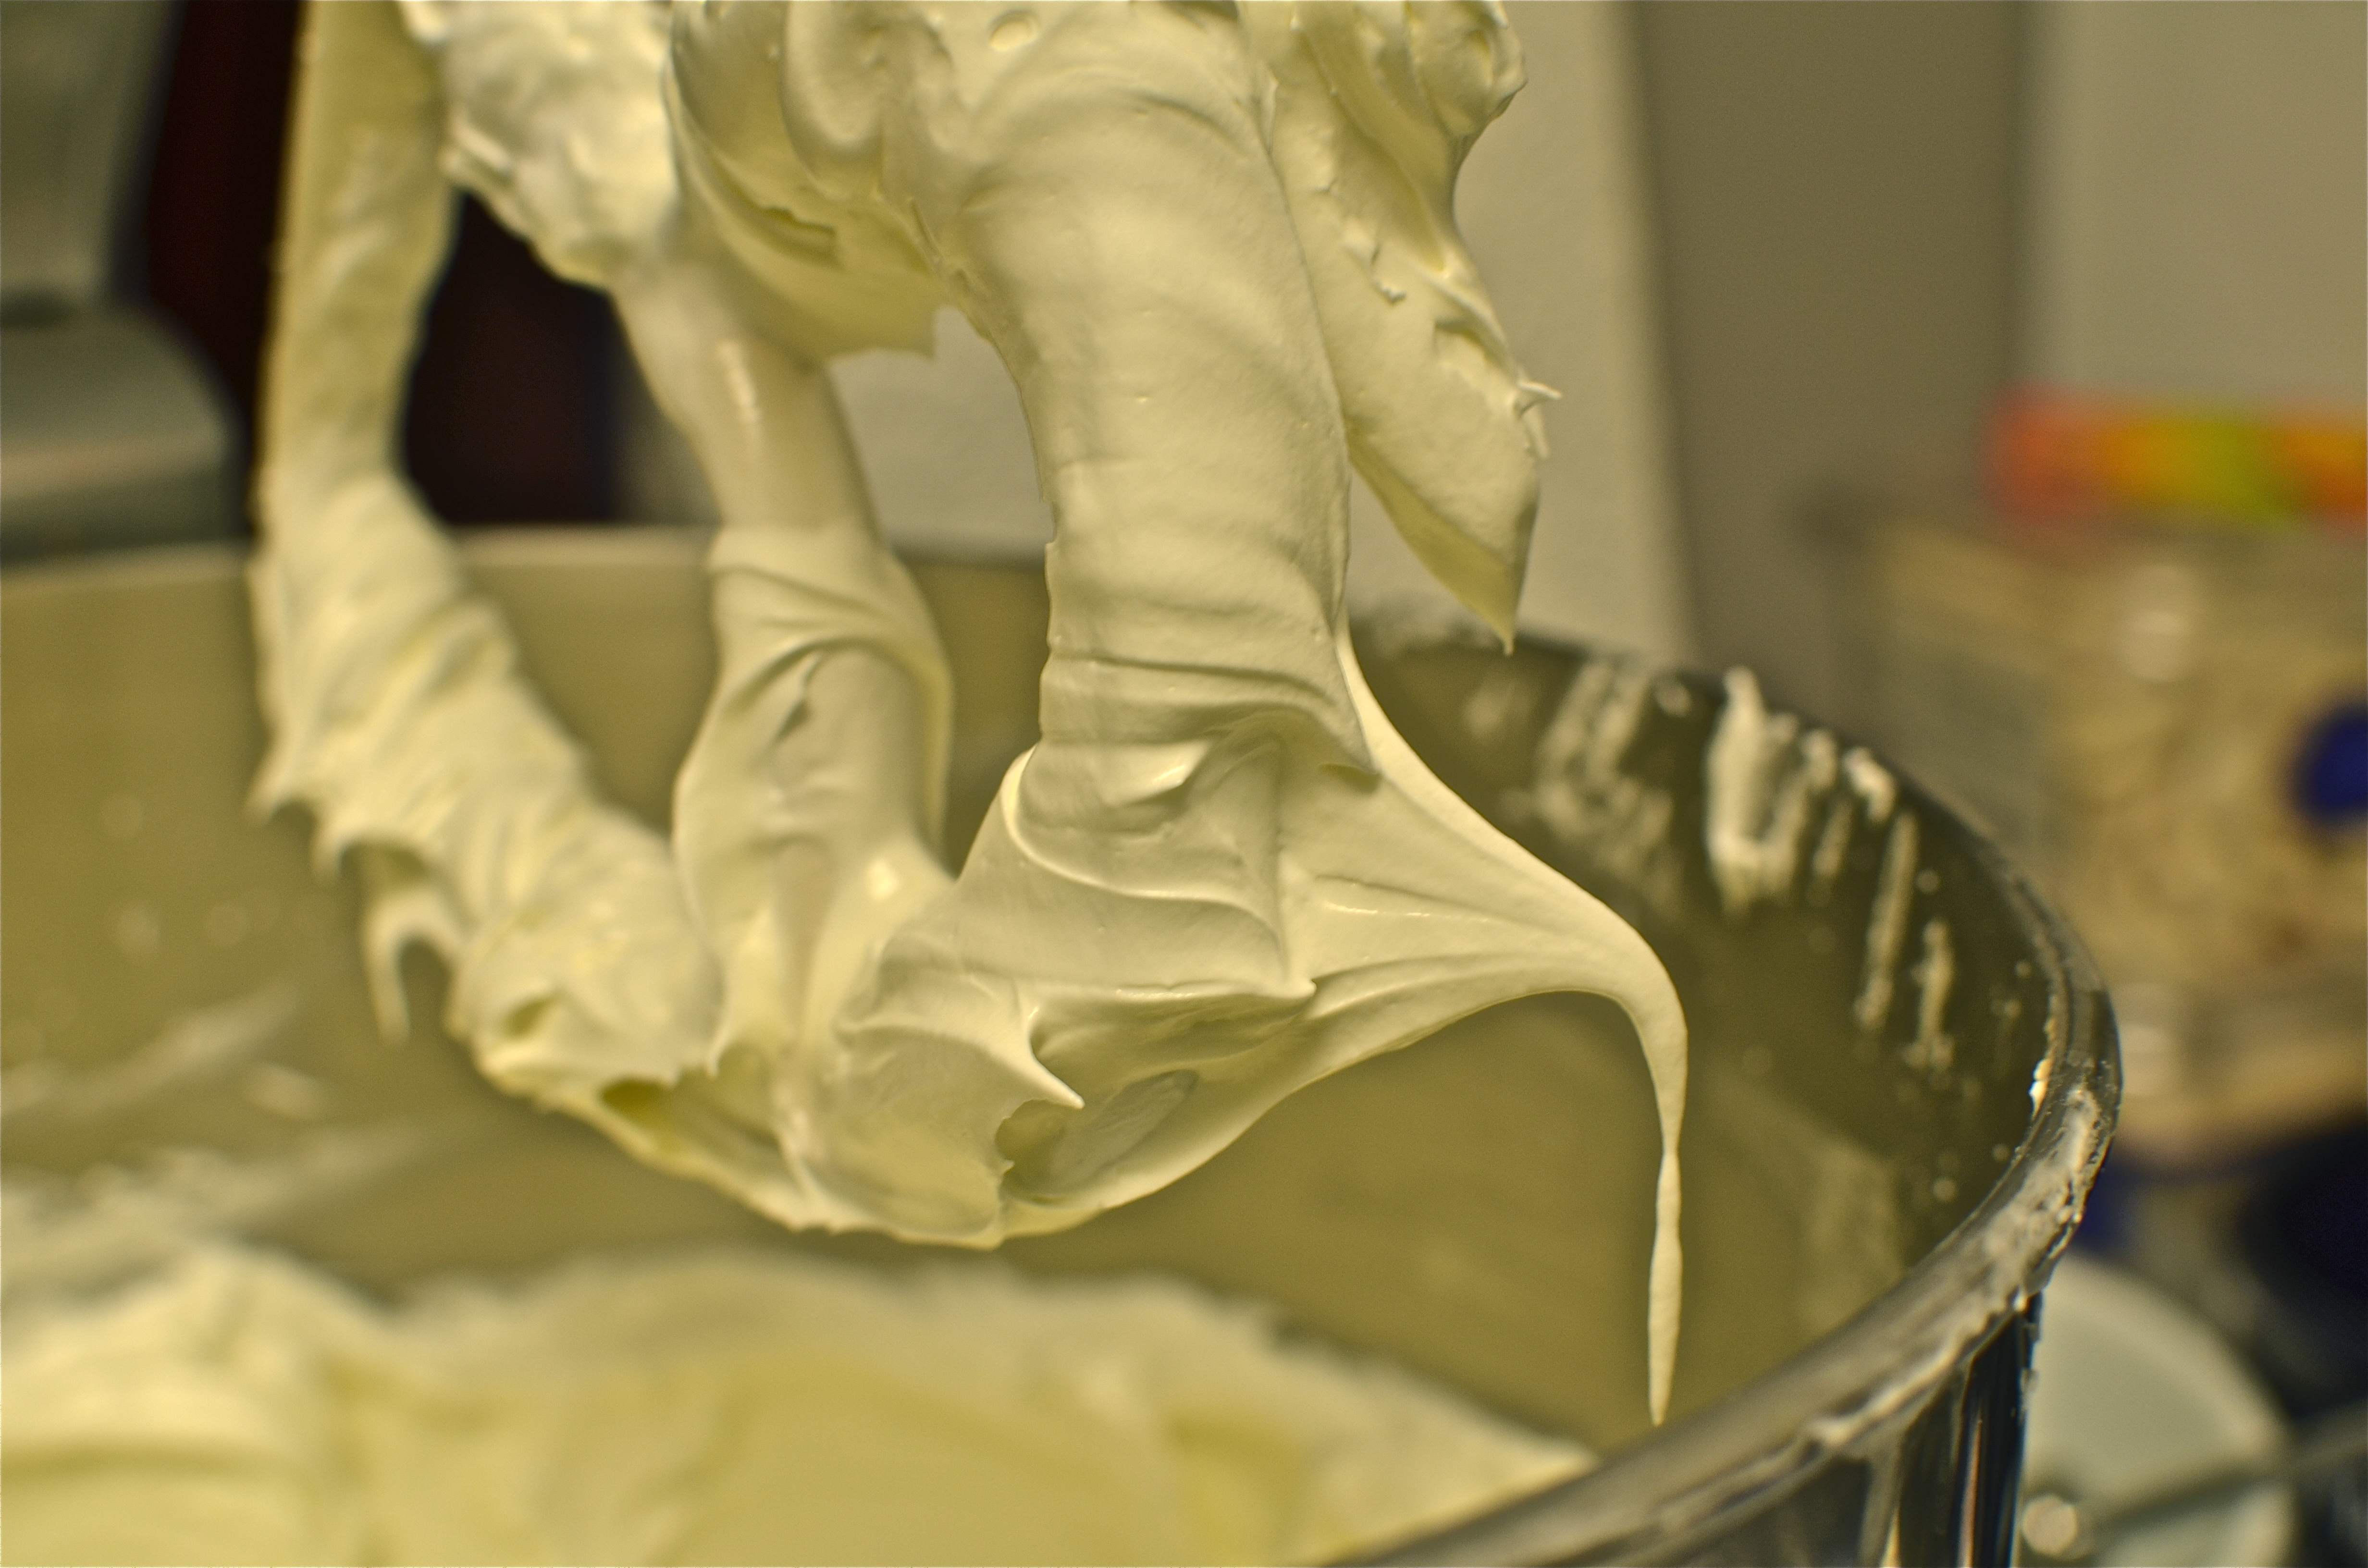
I have a confession to make: I’ve never been a huge fan of buttercream frosting. Until now. Like I’ve discussed many times on this blog, I don’t like things that just taste like butter – it has to have something else to make it special. This frosting is to die for. It can only be described as not-too sweet, buttery velvet. This a hot meringue buttercream – you heat egg whites and sugar until the sugar melts, then beat them together for several minutes until you get a cooled, shiny meringue. Add three (!) sticks of butter, beat some more, and presto! You get a shiny, smooth, airy-but-rich frosting that compliments the light cake perfectly.
The only major modification I made to the recipe was the addition of fresh whipped cream in between the layers. The recipe itself calls for buttercream on top of the raspberry preserves, but I wanted to make sure I had enough buttercream left over to color and pipe on the cake. But I actually preferred the taste of the whipped cream in between the layers – the buttercream may be airy, but it is still a bit rich. The whipped cream gave each bite a slightly lighter taste and texture, which I thought was lovely.
One year ago: Orzo and Chickpea Salad
The Perfect Party Cake
Adapted from Dorie Greenspan’s Baking: From My Home to Yours
Makes a 2-layer, 9-inch cake. If you want 4 layers, either double the cake recipe (not the buttercream recipe), or make the cake in smaller pans (6 or 8 inch) – the recipe says that you should be able to slice each layer in half, but if you use the suggested 9 inch pans, the cake layers come out of the oven way too thin to split in half.
Ingredients
For the Cake:
2 1/4 cups cake flour*
1 tablespoon baking powder
1/2 teaspoon salt
1 1/4 cups low-fat buttermilk
4 large egg whites
1 1/2 cups sugar
2 teaspoons grated lemon zest
1 stick (8 tablespoons) unsalted butter, at room temperature
1/2 teaspoon pure lemon extract
For the Buttercream:
1 cup sugar
4 large egg whites
3 sticks (12 ounces) unsalted butter, at room temperature
1/4 cup fresh lemon juice (from 2 large lemons)
1 teaspoon pure vanilla extract
For Finishing:
2/3 cup seedless raspberry preserves, stirred vigorously or warmed gently until spreadable
Fresh whipped cream (optional)
* You can make your own cake flour from all-purpose flour, if you don’t feel like buying a new kind of flour. Measure out all-purpose flour in the amount needed for the recipe. For every cup of flour called for, remove 2 tablespoons. Next, add the same number of tablespoons of cornstarch to the flour. So here, you’d measure out 2 1/4 cups all-purpose flour, remove 4 1/2 tablespoons of the flour, and add back in the same number tablespoons of cornstarch. Sift the flour-cornstarch mixture together at least 3 times, to make sure the cornstarch is evenly incorporated into the flour.
1. Center a rack in the oven to 350 degrees F. Butter or spray with baking spray (my preferred method) two 9-x-2-inch round cake pans (or whatever size pan you are using), and line the bottom of each pan with a round of parchment paper. Butter or spray the top of the parchment as well.
2. To Make The Cake: Sift together the flour, baking powder and salt. Whisk together the milk and egg whites in a medium bowl.
Put the sugar and lemon zest in a mixer bowl or another large bowl and rub them together with your fingers until the sugar is moist and fragrant. Add the butter and, working with the paddle or whisk attachment in a standing mixer, or with a hand mixer, beat at medium speed for a full 3 minutes, until the butter and sugar are very light in color. Beat in the extract, then add one third of the flour mixture, still beating on medium speed. Beat in half of the milk-egg mixture, then beat in the next third remaining dry ingredients until just incorporated. Next, add the rest of the milk and eggs, beating until the batter is homogeneous, then add the last third of the dry ingredients. Give the batter a 2-minute beating to ensure that it is thoroughly mixed and well aerated. Divide the batter between the two pans and smooth the tops with a rubber spatula.
Bake for 30 to 35 minutes (mine were done at 30 minutes), or until the cakes are well risen and springs back if you poke it with your finger – a tester inserted into the centers should come out clean. Transfer the cakes to cooling racks and cool for 5 minutes, then run a knife around the sides of the cakes, unmold them, and peel off the paper liners. Invert upright, and cool to room temperature. The cooled cake layers can be wrapped airtight and stored at room temperature overnight or frozen for up to 2 months.
3. To Make the Buttercream: Put the sugar and egg whites in a mixer bowl or other large heatproof bowl, fit the bowl over a pan of simmering water and whisk constantly, keeping the mixture over the heat, until it feels hot to the touch, about 3 minutes. Your arm will likely get tired, but keep going! The sugar should be dissolved, and the mixture will look like shiny marshmallow cream. Remove the bowl from the heat, and move it to the standing mixer (if using).
Using the whisk attachment or with a hand mixer, beat the meringue on medium speed until it is cool, about 5 to 6 minutes. Switch to the paddle attachment if you have one, and add the butter one stick at a time, beating until smooth between each addition. When all the butter has been added, beat the buttercream on medium-high speed until it is thick and very smooth, 6 to 10 minutes. During this time, the buttercream may curdle or separate – do not panic, just keep beating and it will come together eventually. On medium speed, gradually beat in the lemon juice, waiting until each addition is absorbed before adding more, and then the vanilla extract. You will have a shiny, smooth, velvety white buttercream. Press a piece of plastic against the surface of the buttercream and set aside briefly.
4. To Assemble the Cake: Using a sharp, serrated knife and a gentle sawing motion, level each layer of cake so that the top is completely flat. If your layers are thick enough to cut into to, slice each layer horizontally to make two layers. Put one layer cut side up on a cardboard cake round or a cake plate protected by strips of wax or parchment paper. Spread it with one third of the preserves. Cover the jam evenly with about one quarter of the buttercream or whipped cream. Top with another layer, spread with preserves and buttercream or whipped cream and then do the same with the third layer (you’ll have used all the jam and have buttercream left over). Place the last layer cut side down on top of the cake and use the remaining buttercream to frost the sides and top.
The cake is ready to serve as soon as it is assembled, but it’s best to let it set for a couple of hours in a cool room. The cake is best the day it is made, but you can refrigerate it, well covered, for up to 2 days.

That cake looks so professional! Congrats on 100 posts!
Congrats my friend, that is an awesome milestone 😀
And you are right, this cake is the perfect celebration one!
Cheers
Choc Chip Uru
i’d be psyched if someone brought that cake to a party!
Congratulations! This looks gorgeous! A perfect way to celebrate.
looks so professional. i kinda just want to dive into it. yummy
congrats! what a great way to celebrate 🙂 this cake looks fantastic and i can only imagine how it tastes…