I have a love-hate relationship with celebration cakes. You know what I’m talking about – those tall, multi-layered, gorgeous, frosting-covered works of art that are meticulously decorated and, if all is right in the world, elicit a chorus of oohs and aahs from the crowd. I love making them, I do; but I don’t have a ton of experience with them, and that means when I do bake them, I agonize over making them look perfect. And of course, they never turn out as perfect as I want them to be – there is, after all, a reason I’m not a professional pastry chef. So in the end, as I gaze at the imperfect cake that I spent hours making and obsessing over, the Type-A lawyer in me fights back tears of frustration and inadequacy.
Those Salted Butter Chocolate Chip Cookies? I made those for a colleague’s birthday last month. Even though I wanted to show up to work and impress with a pretty birthday cake, I just didn’t have the time that week to bake and assemble a respectable cake. The great thing about most cookies? They are easy and fast. And luckily those turned out to be the greatest chocolate chunk cookie I’d ever made, so everyone was happy.
Then last week, it was another work friend’s birthday, and I wanted to bake something. The cake question came up again – to cake, or not to cake? Do I go big or go home? I had time to spare that week, so I decided to go big. And I picked a good one: Dorie Greenspan’s Devil’s Food White-Out Cake, which is pictured on the cover of her excellent book, Baking: From My Home to Yours.
The cake-making wasn’t a complete disaster, but that did not stop me from spewing a few bitter Tweets, giving the play-by-play of everything that went wrong. First, I baked my two cakes in 9 inch, and not 8 inch, pans, which resulted in two perfectly delicious cakes that were too thin to cut into layers. Since my goal was a tall 3-layer cake, I remedied the situation by making another batch of cakes. Second, while I was slicing the tops of the cake layers to make them even and flat, I also sliced a finger open. Yes, I am incredibly clumsy.
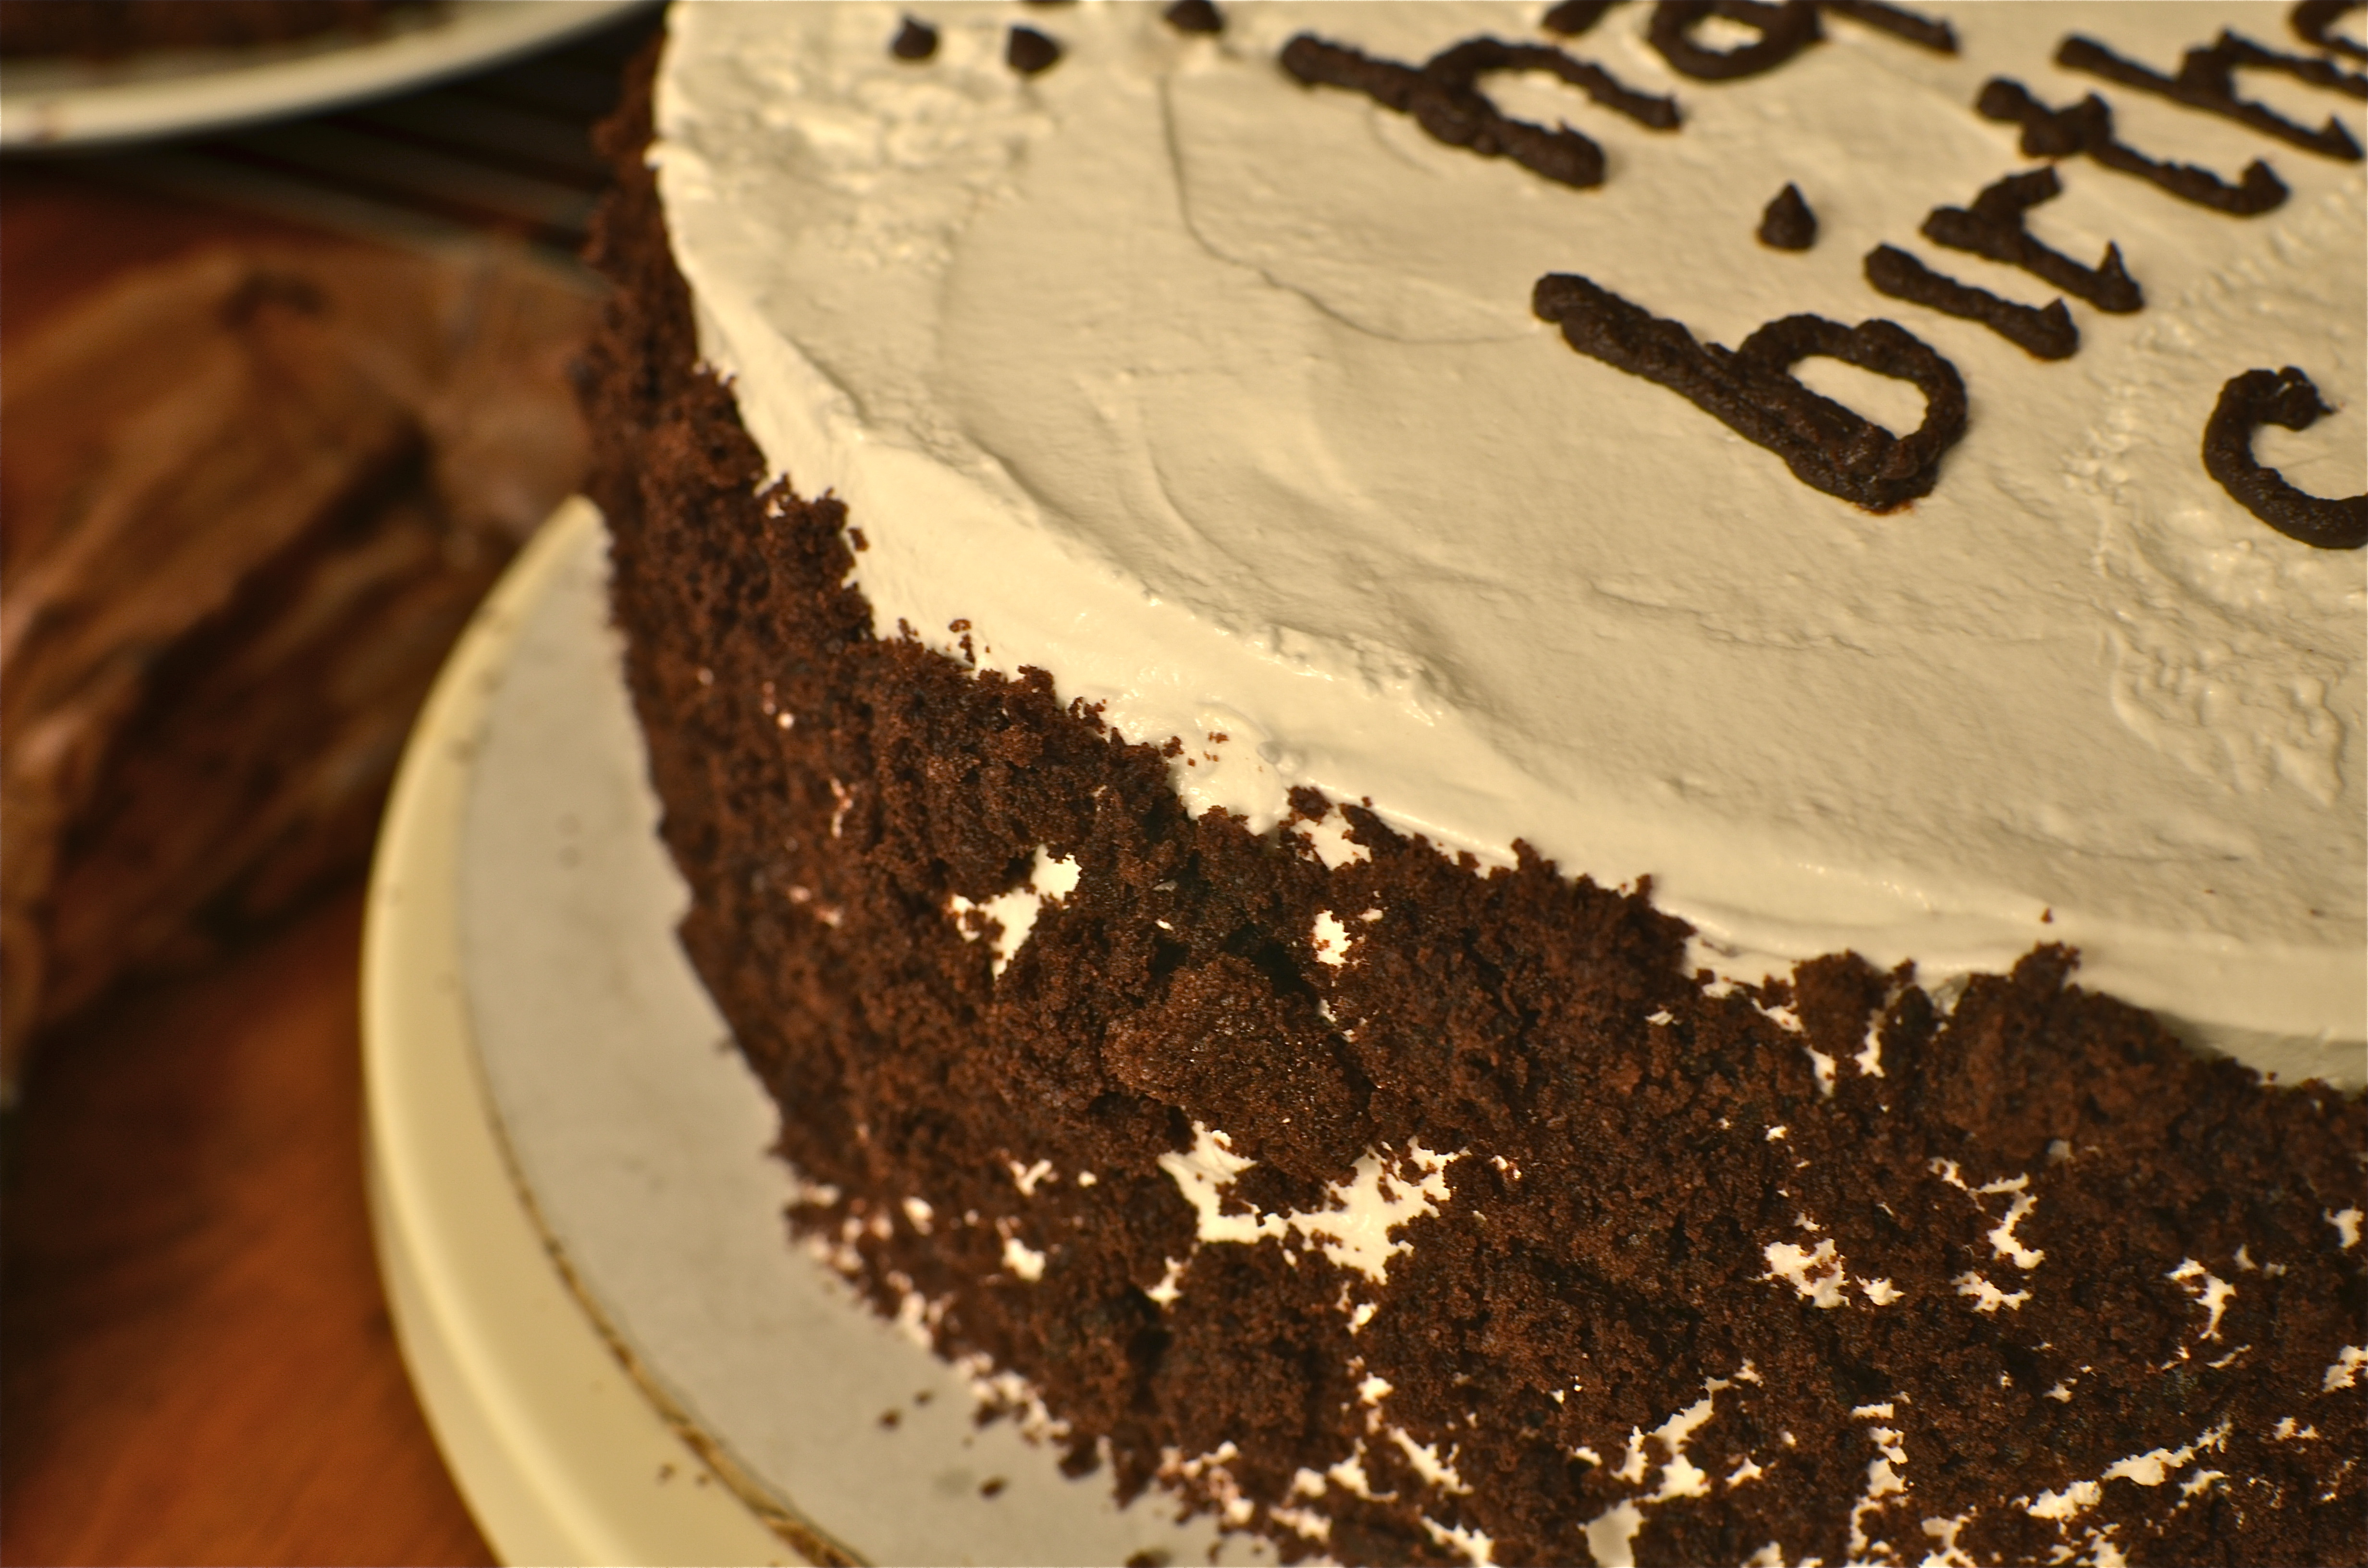
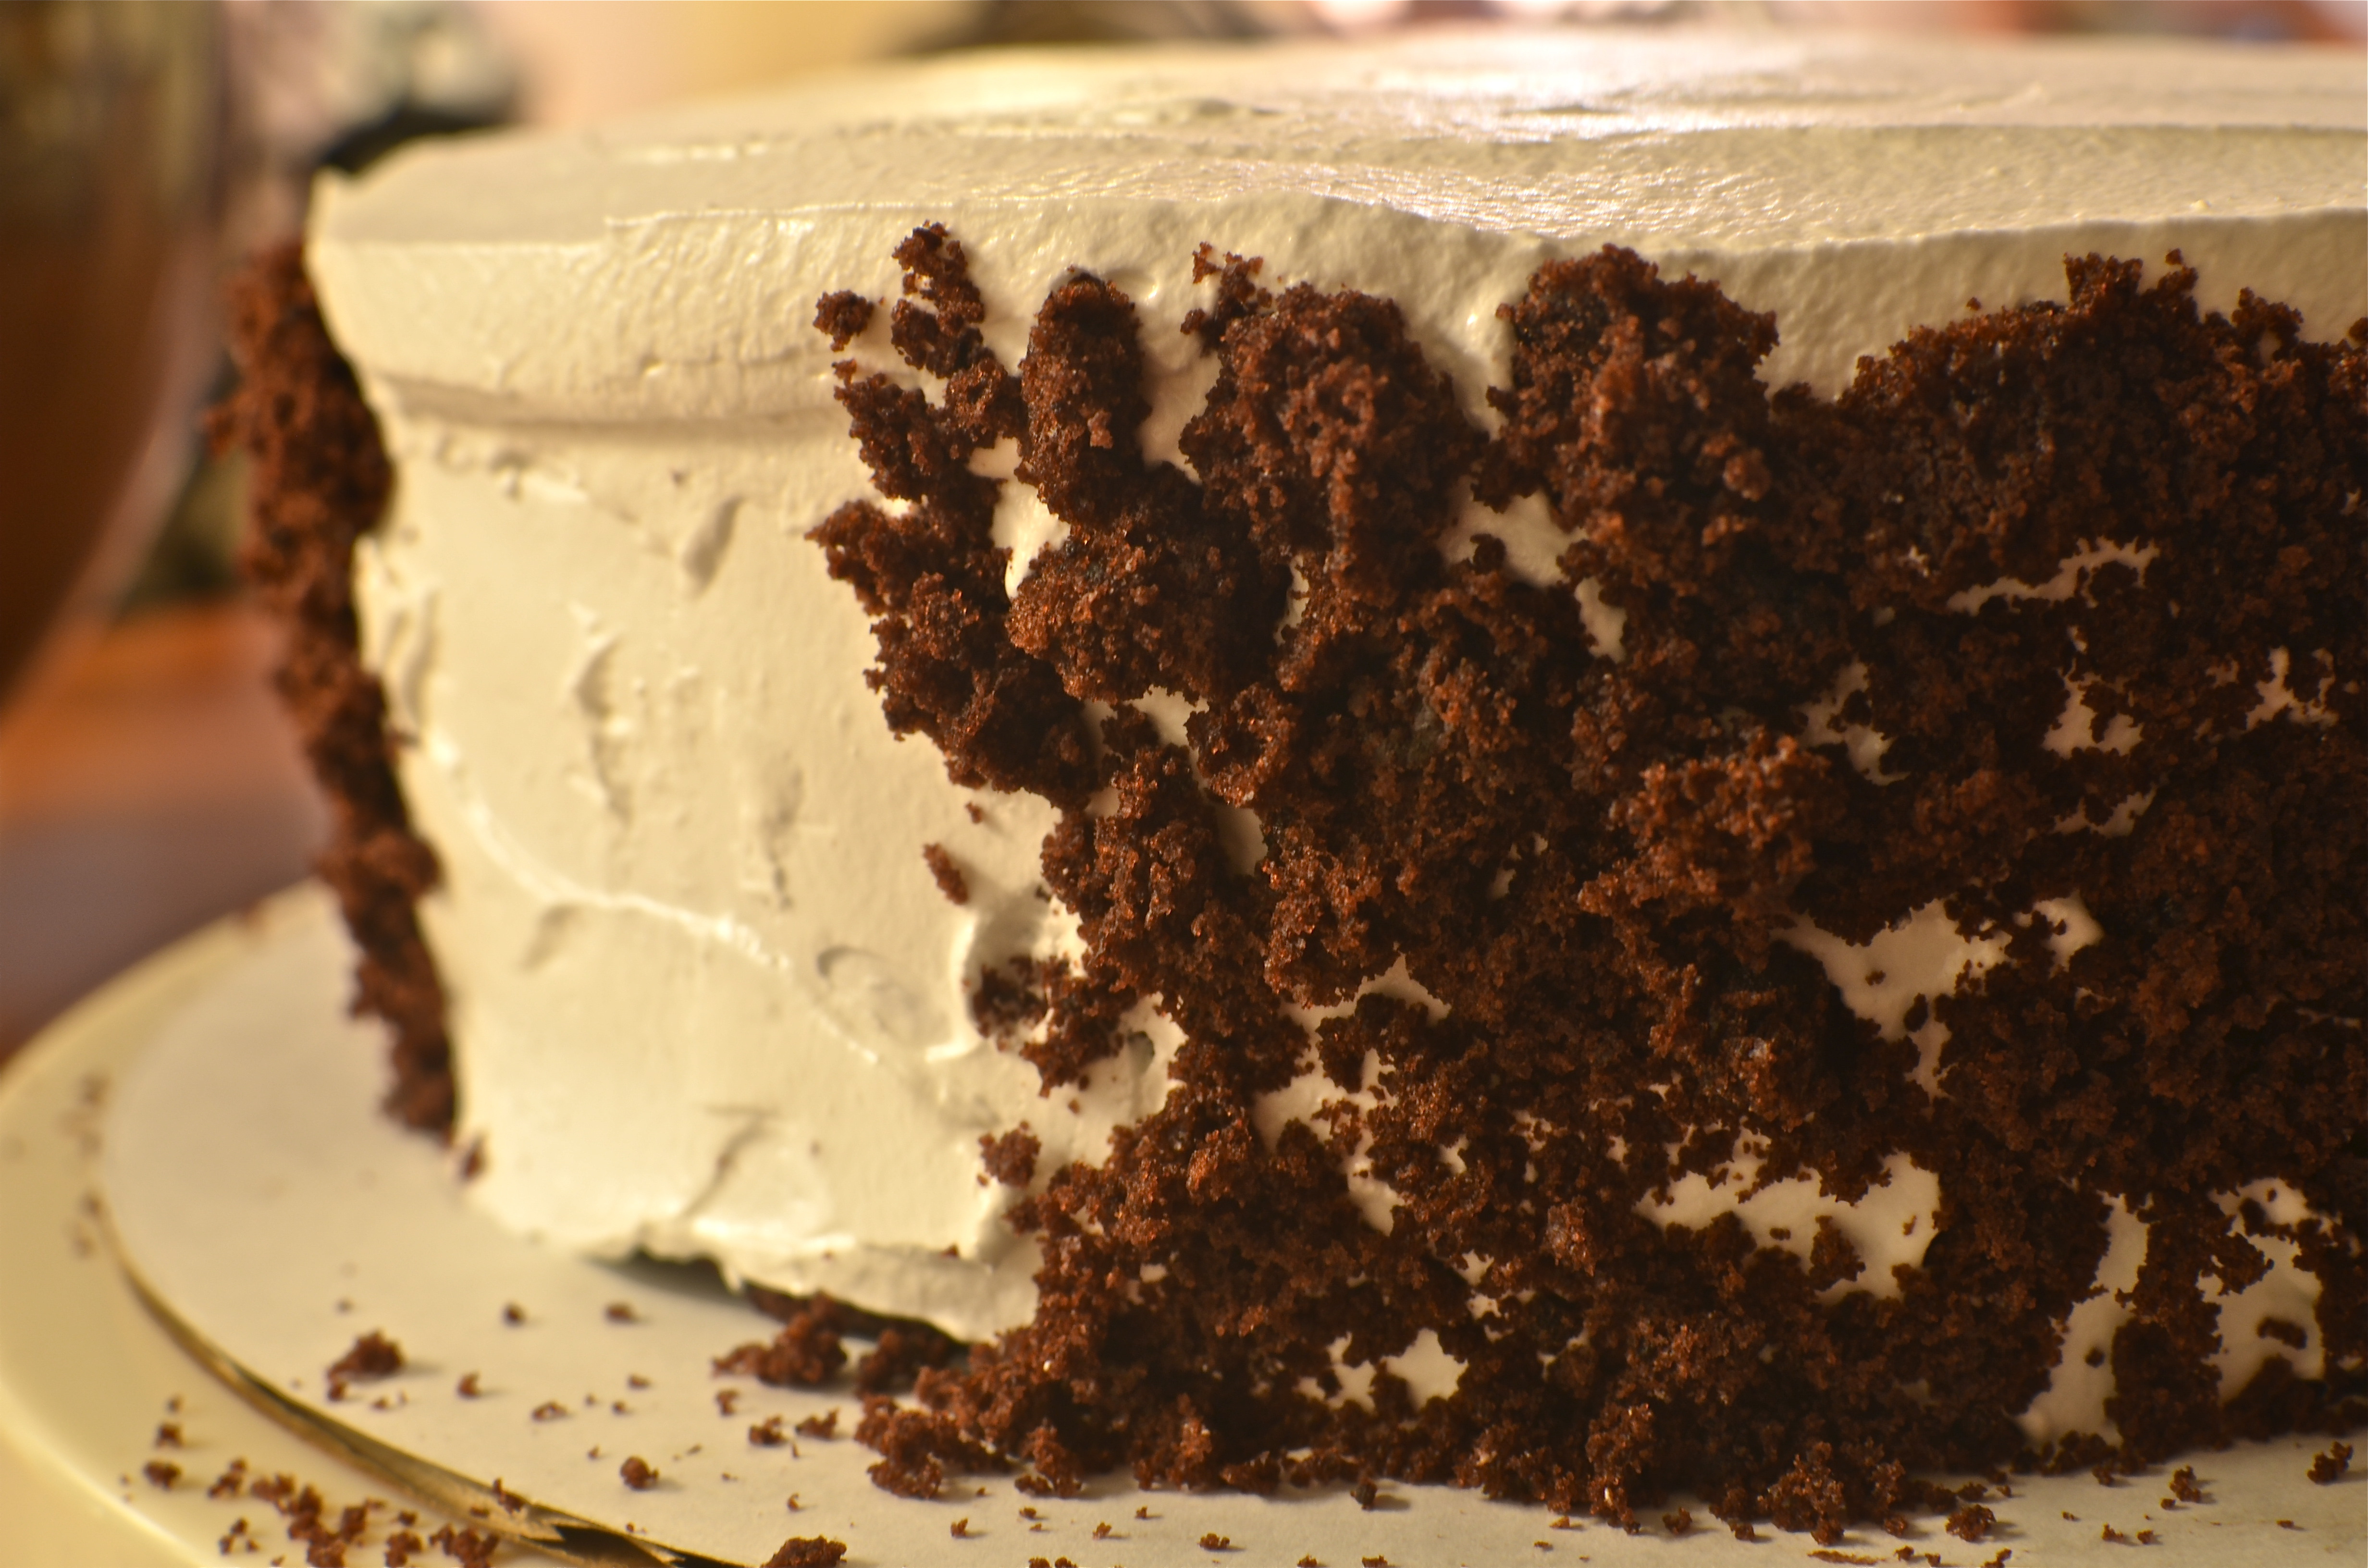
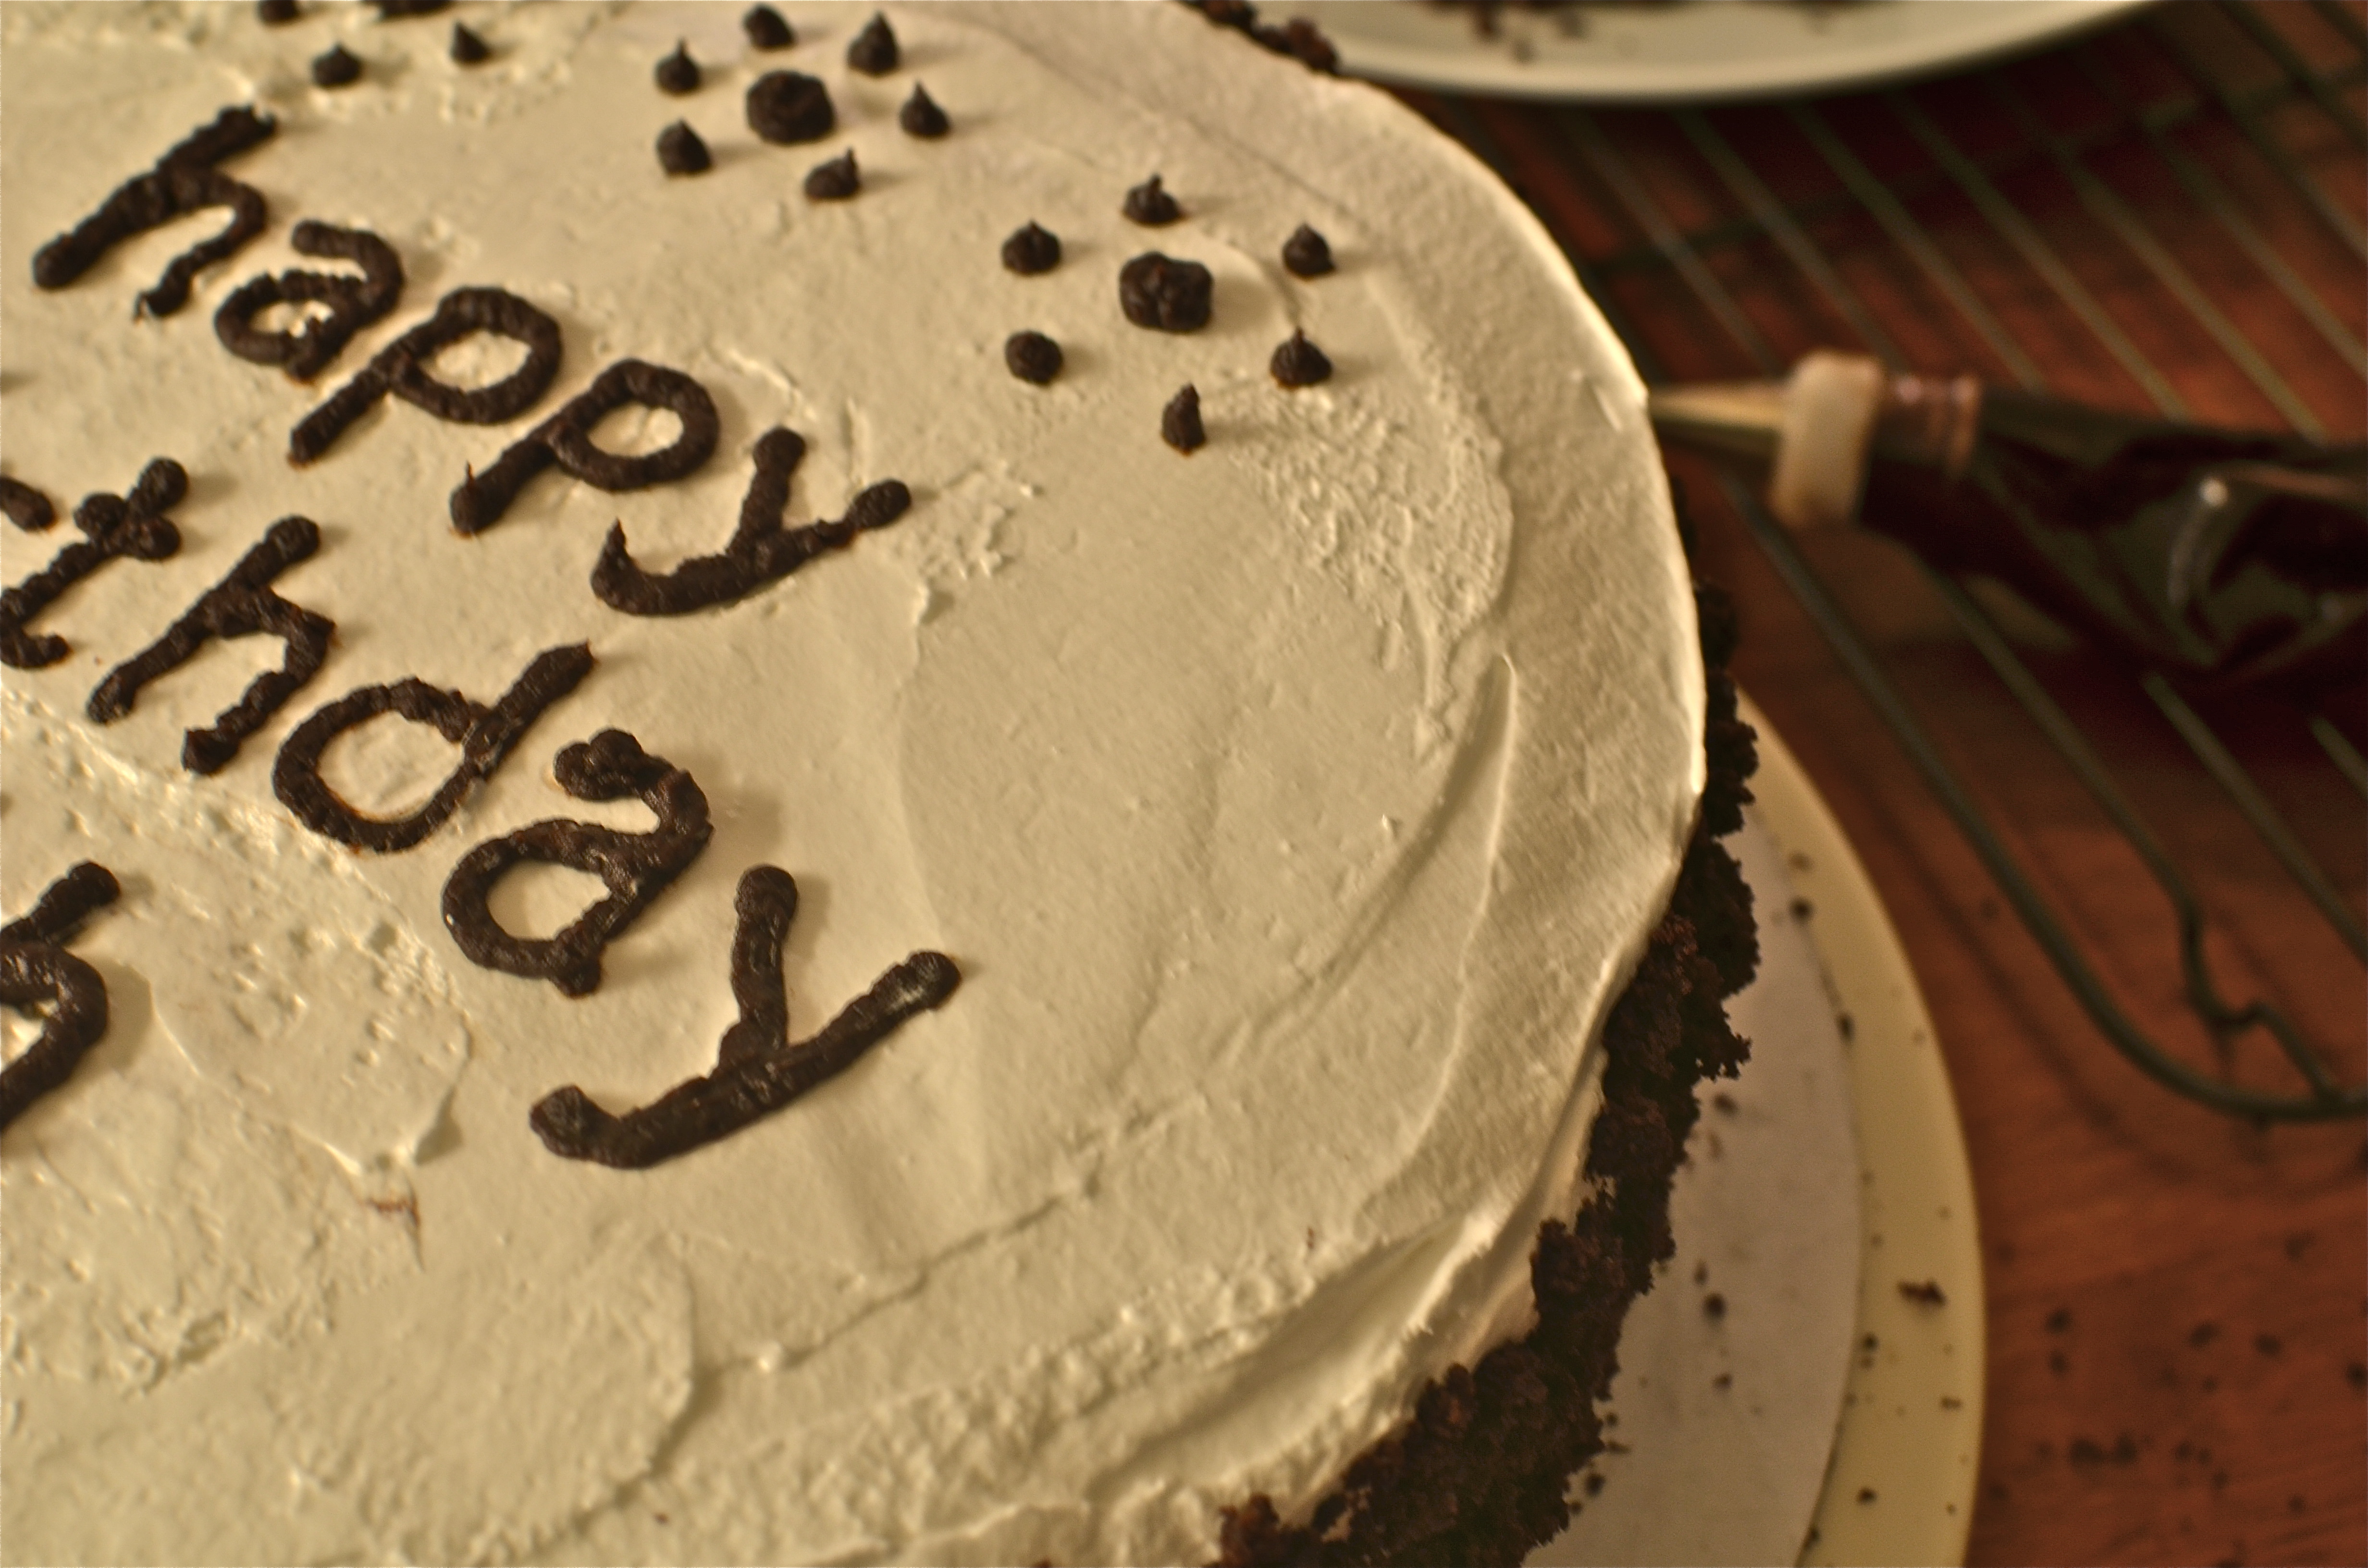
The Italian meringue frosting, which tastes like marshmallow (it is AMAZING), went flawlessly, and the assembly of the cake with the frosting went off without a hitch. Then, instead of putting cake crumbs over the whole cake, I decided to get ambitious; I thought, “I should write Happy Birthday on the cake!” So I covered the sides in crumbs, whipped up a quick ganache, and let the ganache cool and thicken up while I prepped some piping bags. And then the anxiety hit over writing letters in ganache. It turns out ganache is pipable, but not quite as smooth as I would have liked. The message came out neat enough, but I would have loved for it to look better. I managed to get ganache all over my kitchen floor, and also noticed after I finished that I somehow got a decent amount of ganache in the corner of my left eye.
Whew … so there’s my list of complaints, but they are all complaints about myself. The actual Devil’s Food Cake and the marshmallowy frosting is really, really delicious, and I highly recommend you try it! The cake is moist and chocolatey, the frosting is to die for. And while I decided to make more trouble for myself by decorating the top of the cake, the original recipe’s suggestion of putting cake crumbs over the entire cake is the easiest, most fool-proof way of decorating a cake. No matter how it looks in the end, rest assured it will taste great.
One year ago: Broccoli Cheese Soup
Devil’s Food White-Out Cake
Adapted from Dorie Greenspan’s Baking: From My Home to Yours; written about many places, such as the New York Times
Makes 1 3-layer, 8 inch cake
If you use 9-inch cake pans, which is what I had on hand, the two cakes that this recipe makes will be too thin to slice in half (which you do in order to make the 4 layers). If you only have 9 inch pans, double the recipe for the cake if you want a 3 layer cake.
Ingredients
For the cake:
1 1/3 cups all-purpose flour
1/2 cup unsweetened cocoa powder (I used Dutch process, but you can use non-Dutch process as well)
3/4 teaspoon baking soda
1/2 teaspoon baking powder
1/4 teaspoon salt
1 1/4 sticks (10 tablespoons) unsalted butter, at room temperature
1/2 cup (packed) light brown sugar
1/2 cup sugar
3 large eggs, at room temperature
1 teaspoon pure vanilla extract
2 ounces bittersweet chocolate, melted and cooled
1/2 cup buttermilk or whole milk, at room temperature
1/2 cup boiling water
4 ounces semisweet or milk chocolate, finely chopped, or 2/3 cup store-bought mini chocolate chips
For the filling and frosting:
1/2 cup egg whites (about 4 large)
1 cup sugar
3/4 teaspoon cream of tartar
1 cup water
1 tablespoon pure vanilla extract
1. Center a rack in the oven and preheat to 350 degrees. Butter two 8-by-2-inch round cake pans, dust the insides with flour, tap out the excess and line the bottoms with parchment or wax paper. Or just spray the pans with baking non-stick spray, line the bottoms with parchment, then spray the parchment too. Put the pans on a baking sheet.
2. To make the cake: Sift together the flour, cocoa, baking soda, baking powder and salt. Working with a stand mixer, preferably fitted with a paddle attachment, or with a hand mixer in a large bowl, beat the butter on medium speed until soft and creamy. Add the sugars and continue to beat for another 3 minutes. Add the eggs one by one, beating for 1 minute after each addition. Beat in the vanilla; don’t be concerned if the mixture looks curdled. Reduce the mixer speed to low and mix in the melted chocolate. When it is fully incorporated, add the dry ingredients alternately with the buttermilk, adding the dry ingredients in 3 additions and the milk in 2 (begin and end with the dry ingredients); scrape down the sides of the bowl as needed and mix only until the ingredients disappear into the batter. At this point, the batter will be thick, like frosting. Still working on low speed, mix in the boiling water, which will thin the batter considerably. Switch to a rubber spatula, scrape down the bowl and stir in the chopped chocolate. Divide the batter evenly between the two pans and smooth the tops with the rubber spatula.
3. Bake for 25 to 30 minutes, rotating the pans at the midway point. Mine were done at the 25 minute mark, so start checking at 20 minutes. When fully baked, the cakes will be springy to the touch and a thin knife inserted into the centers will come out clean. Don’t worry if the tops have a few small cracks. Transfer the cake pans to a rack and cool for about 5 minutes, then run a knife around the sides of the cakes, unmold them, and peel off the paper liners. Invert and cool to room temperature right side up. (The cooled cake layers can be wrapped airtight and stored at room temperature overnight or frozen for up to 2 months.)
4. When you are ready to fill and frost the cake, inspect the layers. If the cakes have crowned, use a long serrated knife and a gentle sawing motion to even them. With the same knife, slice each layer horizontally in half. Set 3 layers aside and crumble the fourth layer; set the crumbs aside.
5. To make the filling and frosting: Put the egg whites in a clean, dry mixer bowl or in another large bowl. Have a candy thermometer at hand.
Put the sugar, cream of tartar and water in a small saucepan and stir to combine. Bring the mixture to a boil over medium-high heat, cover the pan and boil for 3 minutes. Uncover, clip the thermometer on the side of the pot, making sure the tip of the thermometer is at the bottom of the pot. Allow the syrup to boil until it reaches 242 degrees on the candy thermometer. While the syrup is cooking, start beating the egg whites.
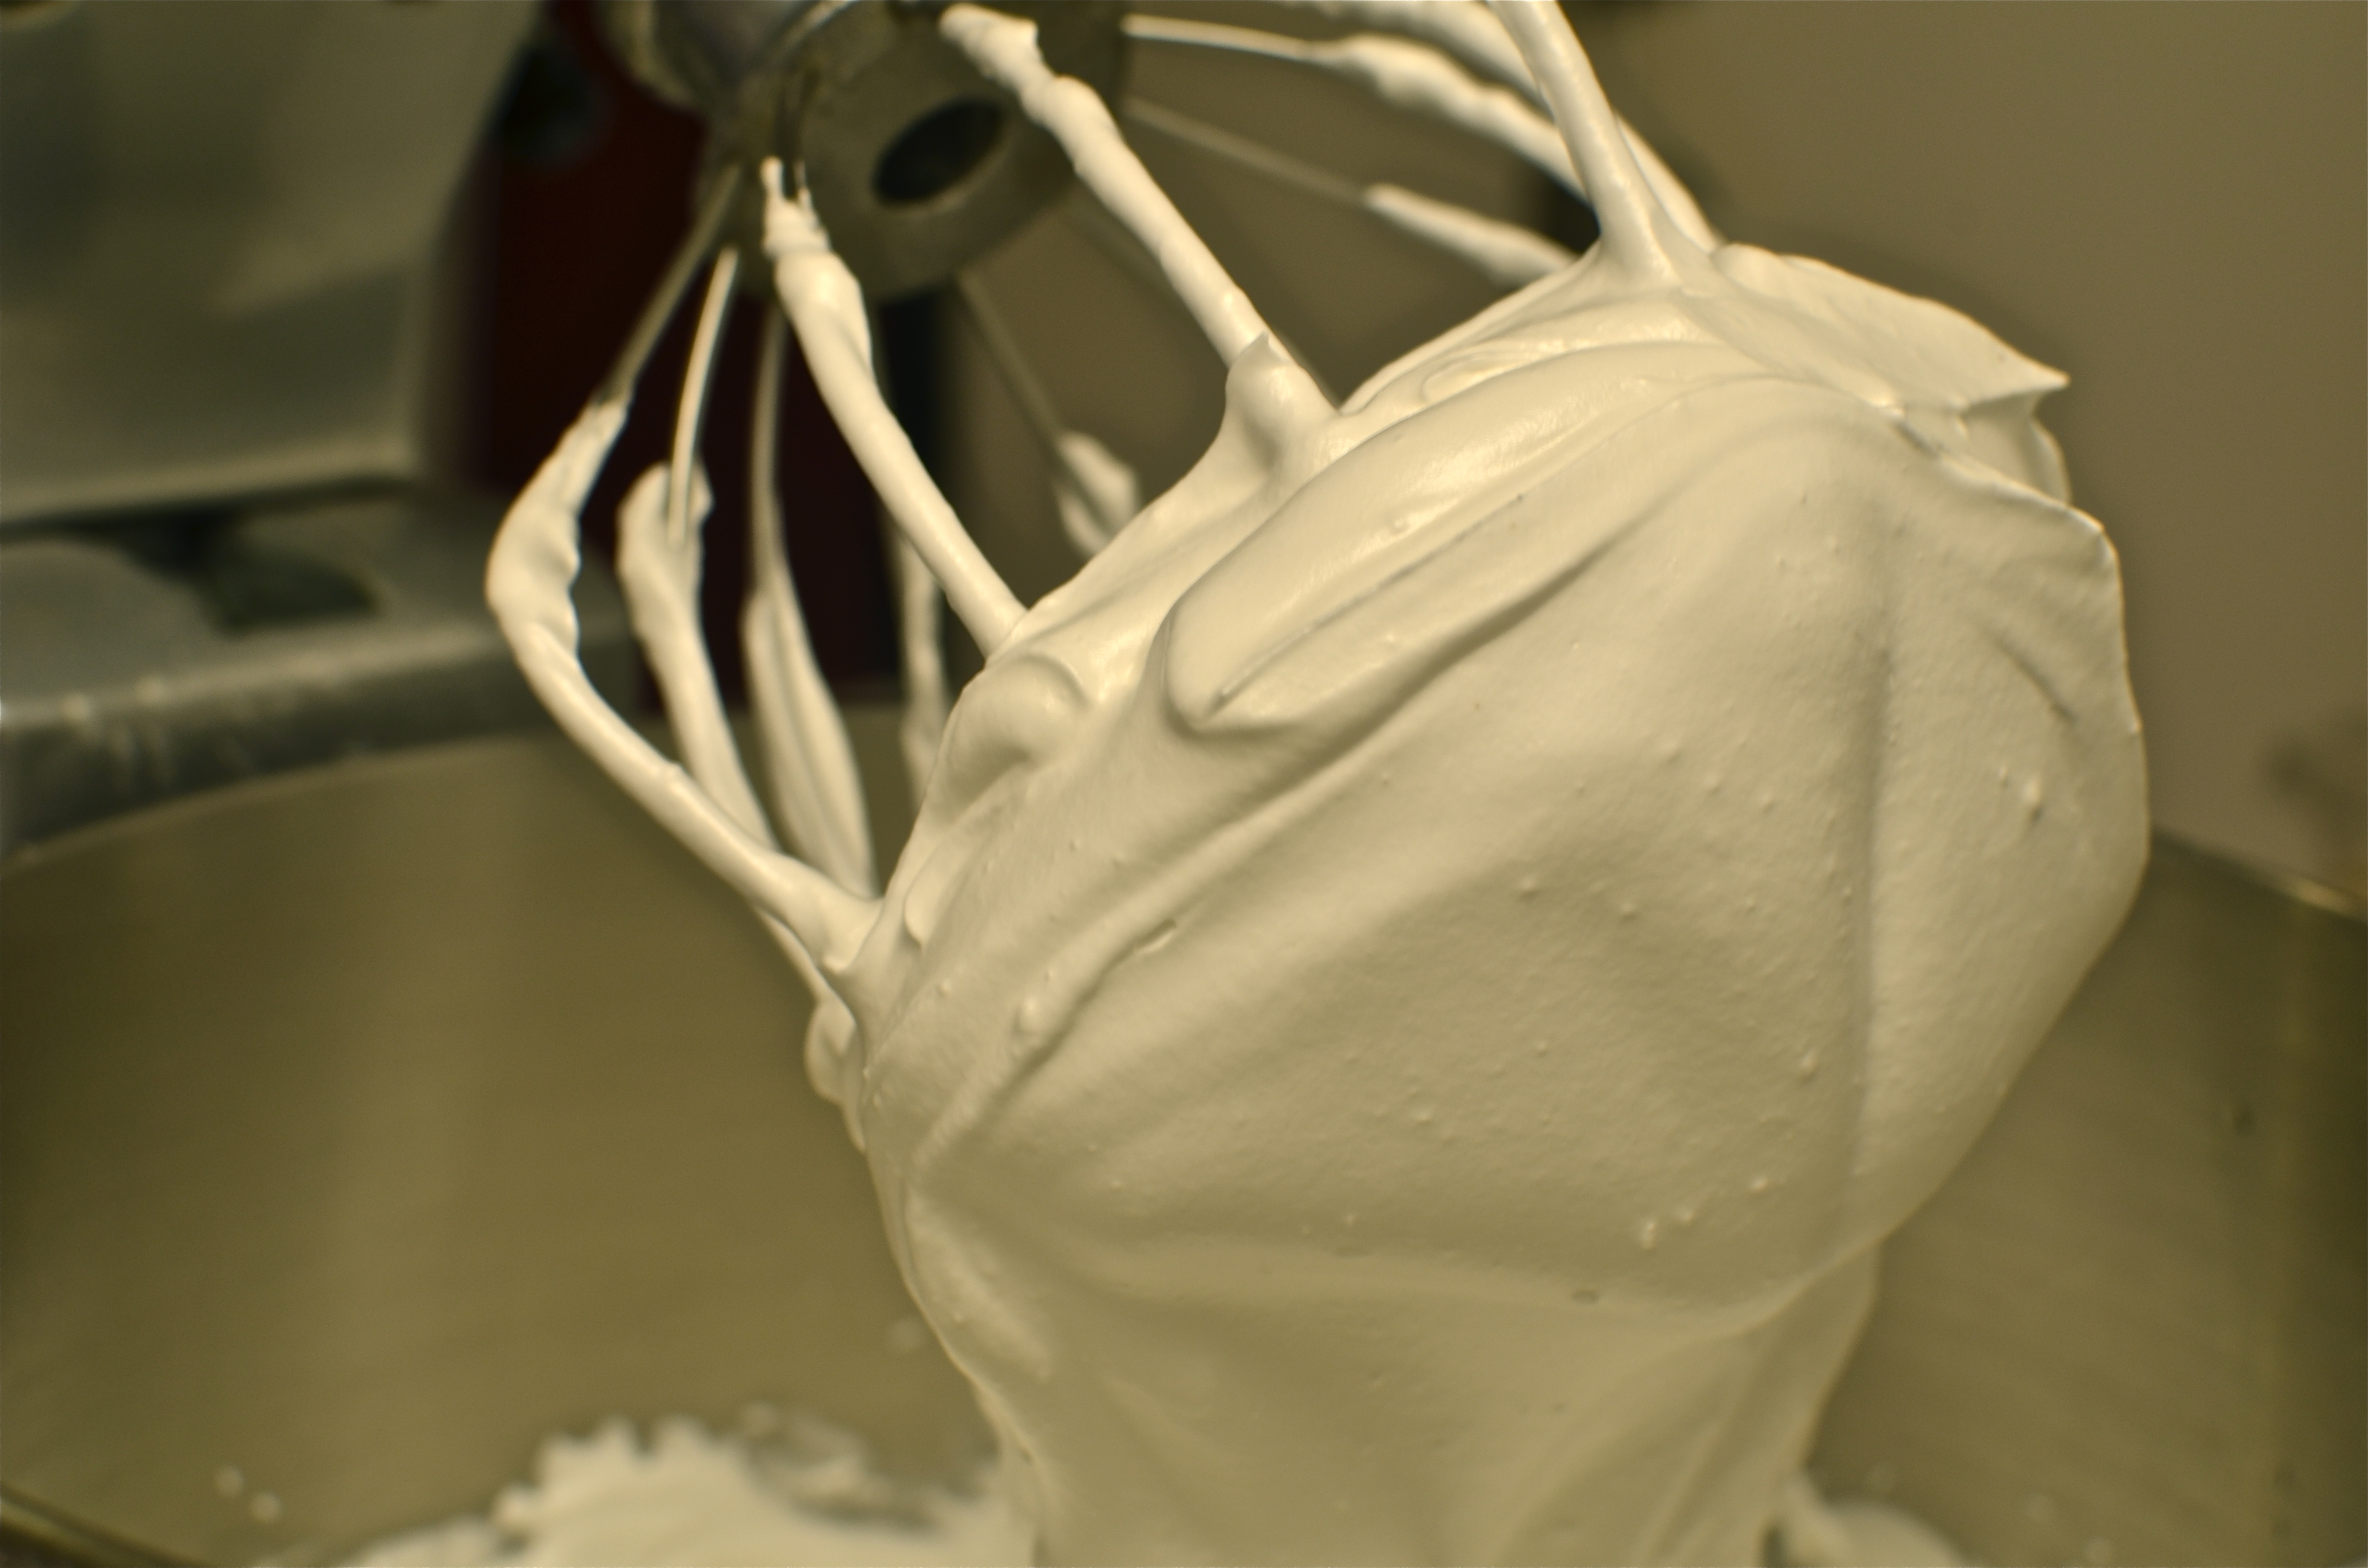
6. When the syrup is at about 235 degrees, begin beating the egg whites on medium speed with the whisk attachment or with a hand mixer. If the whites form firm, shiny peaks before the syrup reaches temperature, reduce the mixer speed to low and keep mixing the whites until the syrup catches up. With the mixer at medium speed, and standing back slightly, carefully pour in the hot syrup, pouring it between the beater(s) and the side of the bowl. Splatters are inevitable — don’t try to scrape them into the whites, just carry on. Add the vanilla extract and keep beating the whites at medium speed until they reach room temperature, about 5 minutes. You should have a smooth, shiny, marshmallowy frosting. Although you could keep it in the fridge in a pinch, it’s really better to use it right now.
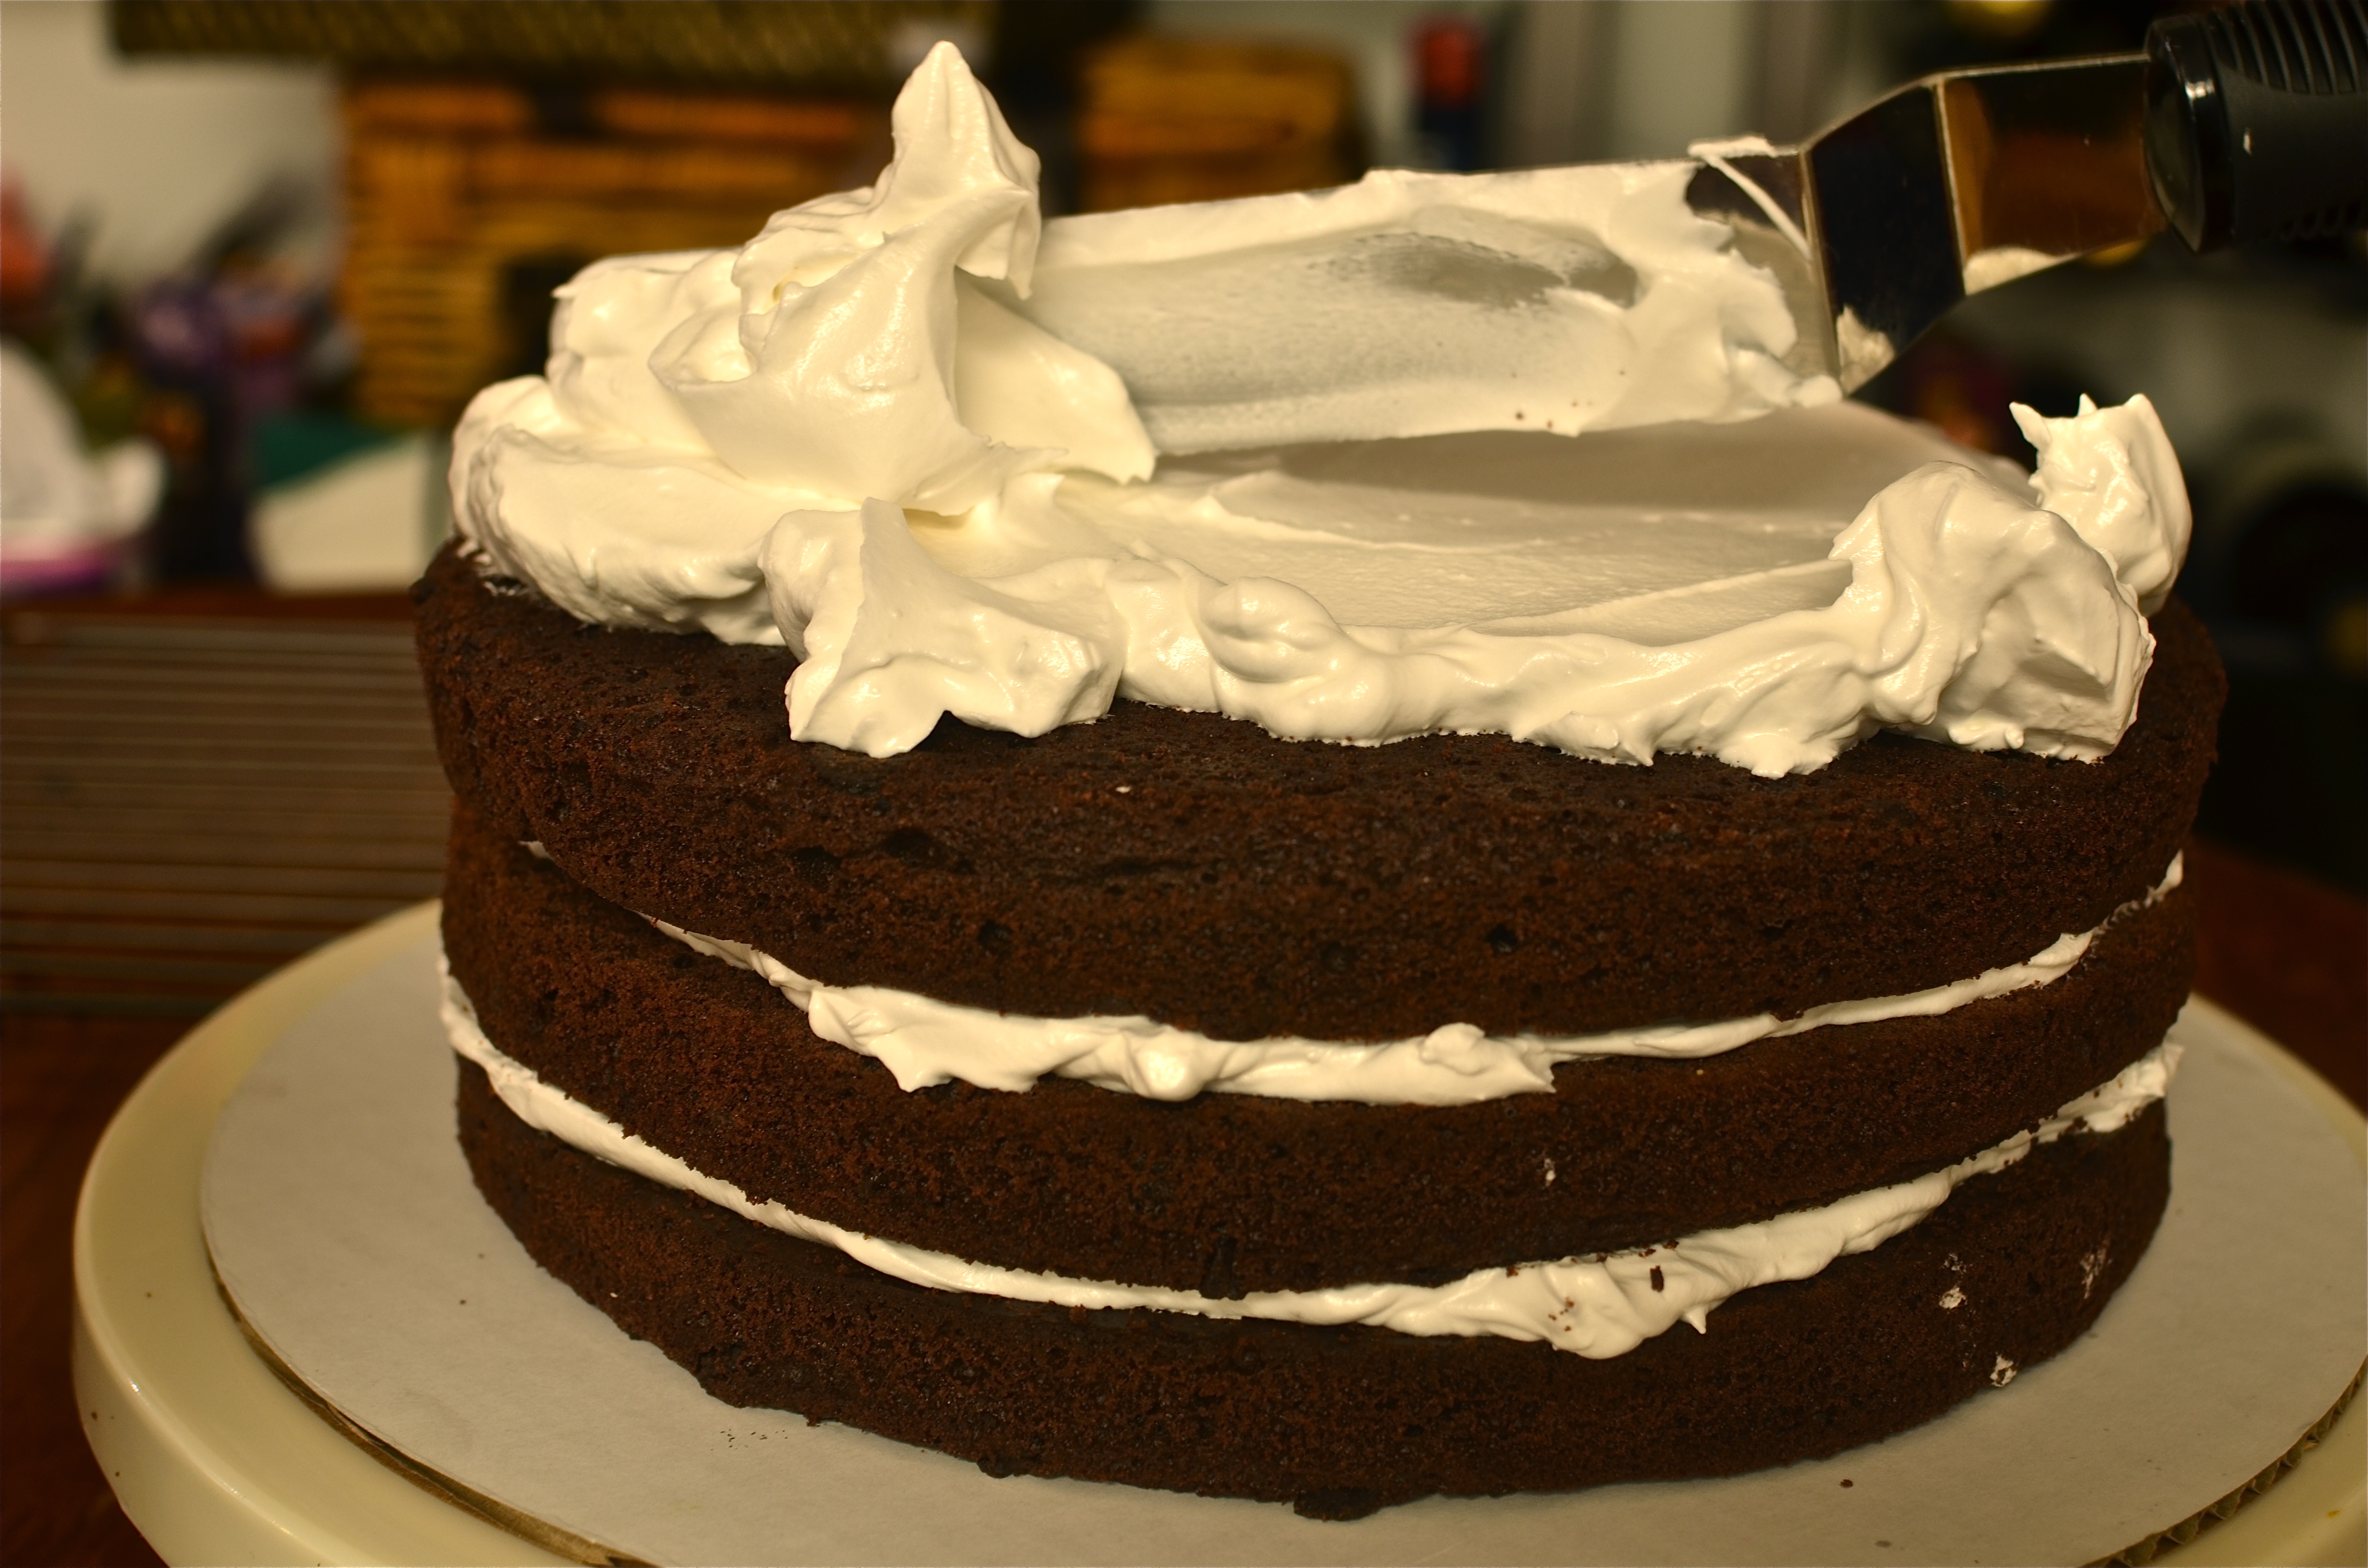
7. To assemble the cake: Put a bottom layer cut side up on a cardboard cake round or on a cake plate protected by strips of wax or parchment paper. Using a long metal icing spatula, cover the layer generously with frosting. Top with a second layer, cut side up, and frost it. Finish with the third layer, cut side down, and frost the sides and top of the cake. Don’t worry about smoothing the frosting — it should be swirly. Now, cover the entire cake with the chocolate cake crumbs, gently pressing the crumbs into the filling with your fingers.
If you want to do some writing with ganache on the cake: melt 2.5 ounces of chopped semi-sweet chocolate with the 2 tablespoons of water in a heatproof bowl set over a pan of barely simmering water, stirring occasionally until melted. Remove the bowl from the pan of water. Cut 3 tablespoons of butter into small pieces and whisk them into the chocolate until completely melted and the ganache is smooth. Cool until spreadable, which may take about 1 hour at room temperature. You can speed this up a little by putting it in the fridge for a few minutes at a time, but be careful not to let it sit in the fridge too long.
Put the thickened ganache in a piping bag and go to town decorating your cake.
8. Refrigerate the cake for about 1 hour before serving. (If it’s more convenient, you can chill the cake for 8 hours or more; cover it loosely and keep it away from foods with strong odors.)
I think your writing on the cake is beautiful! Mine would’ve never come out that neat. And the cake itself sounds delicious, especially that frosting!
I have to say, I made this cake a few months ago and added mint extract to the frosting. We LOOOVE mint choc chip anything around here. I was not at all impressed by the frosting. Cake was delicious, however.
Yours looks fabulous! No more anxiety… You can obviously DO IT!
That’s funny you weren’t impressed with the frosting, it seems like bloggers have either loved it or hated it. Do you think the mint made it better? The mint sounds like an excellent idea.
The mint was fabulous (love making mint meringues too), but the ‘skin’ that the frosting developed within a few hours was unappealing. I’m sold on BraveTart’s German buttercream and will never EVER look back.
Mmmmmmm, I kind of want to roll around in this it looks so good 😉 Wonderful!
impressive
Looks AWESOME, ME! I wish I was there to try it!
um, I’m thinking great minds think alike! 🙂 Love your cake – it’s much prettier than mine – and I’m sure your friend really appreciated all the work you put into it. (And I am such a perfectionist, too – and my cakes never live up to my own expectations. 🙂 )
I have been thinking about this cake all day since I saw it this morning. And the frosting…I could just take a dive right in!!!
Beautiful cake with amazing flavour and presentation – awesome job 😀
Cheers
Choc Chip Uru
I love the crumb on the outside of the cake. Gorgeous and delicious!!
You did a lovely job on the cake. The lettering and the layering are much better than I can do. Not sure what you had pictured in your mind, but this cake looks fabulous. Also. great classic flavors in this cake-yum!
I could never write on the cake as well as you did! You’ve done a great job on this one. Looks absolutely delicious
I’ve made this beauty for a birthday, too…but yours is so much prettier! Perfectly done 🙂
Beautiful cake! I am sure all who were able to enjoy this were very happy! It sounds and looks delicious!
Looks so good! Love the crumbs on the edges!
So I recently read a suggestion about doing writing for cakes on wax paper and putting it in the freezer and then transferring it to the cake with an offset spatula. I think this is genius for us perfectionist type-As who may need/want more than one go at the “writing” part! I intend to try it the next time I do a cake. 🙂 Beautiful as always, ME!
That is a beautiful cake! And how nice of you to bake it for a colleague’s birthday. I’ve made Martha Stewart’s Marshmallow frosting which is very similar to the frosting you made, but it doesn’t have water and you cook the egg whites with the sugar, really easy. It’s my new favourite.
I’m here from Greg’s blog Rufus’ Food and Spirits Guide blog. I’m going to check out your blog in detail, we’ll be in Manhattan on Friday (our yearly fix) and I can hardly contain my excitement!
that’s the thing, it looks so fabulous, that no one will know all the pain behind it!! love the looks of that frosting 🙂
That looks beautiful! And the writing is super neat. Was the icing/ frosting very sweet? I realized there was no butter in it, so it seemed like the traditional 7 minute frosting which is way sweeter than I can handle.
I found your blog when I googled Dorie Greenspan’s devil’s food cake. I love her book and wanted to make those cakes that others recommended as fabulous ( all I’m sure, but I need to keep a check on my waistline). I’d really appreciate if you’d let me know.